


16 years in the making.
System-Wide Features Guide
Looking at edelkrone® solely as camera heads, sliders, jibs, dollies will result in missing the actual value and benefits we offer. We have developed an ecosystem focused not on individual products, but on the benefits offered through these products working harmoniously with each other.
First please take a look at the overall tech-tree below to see the connectivity of our MOCO devices.
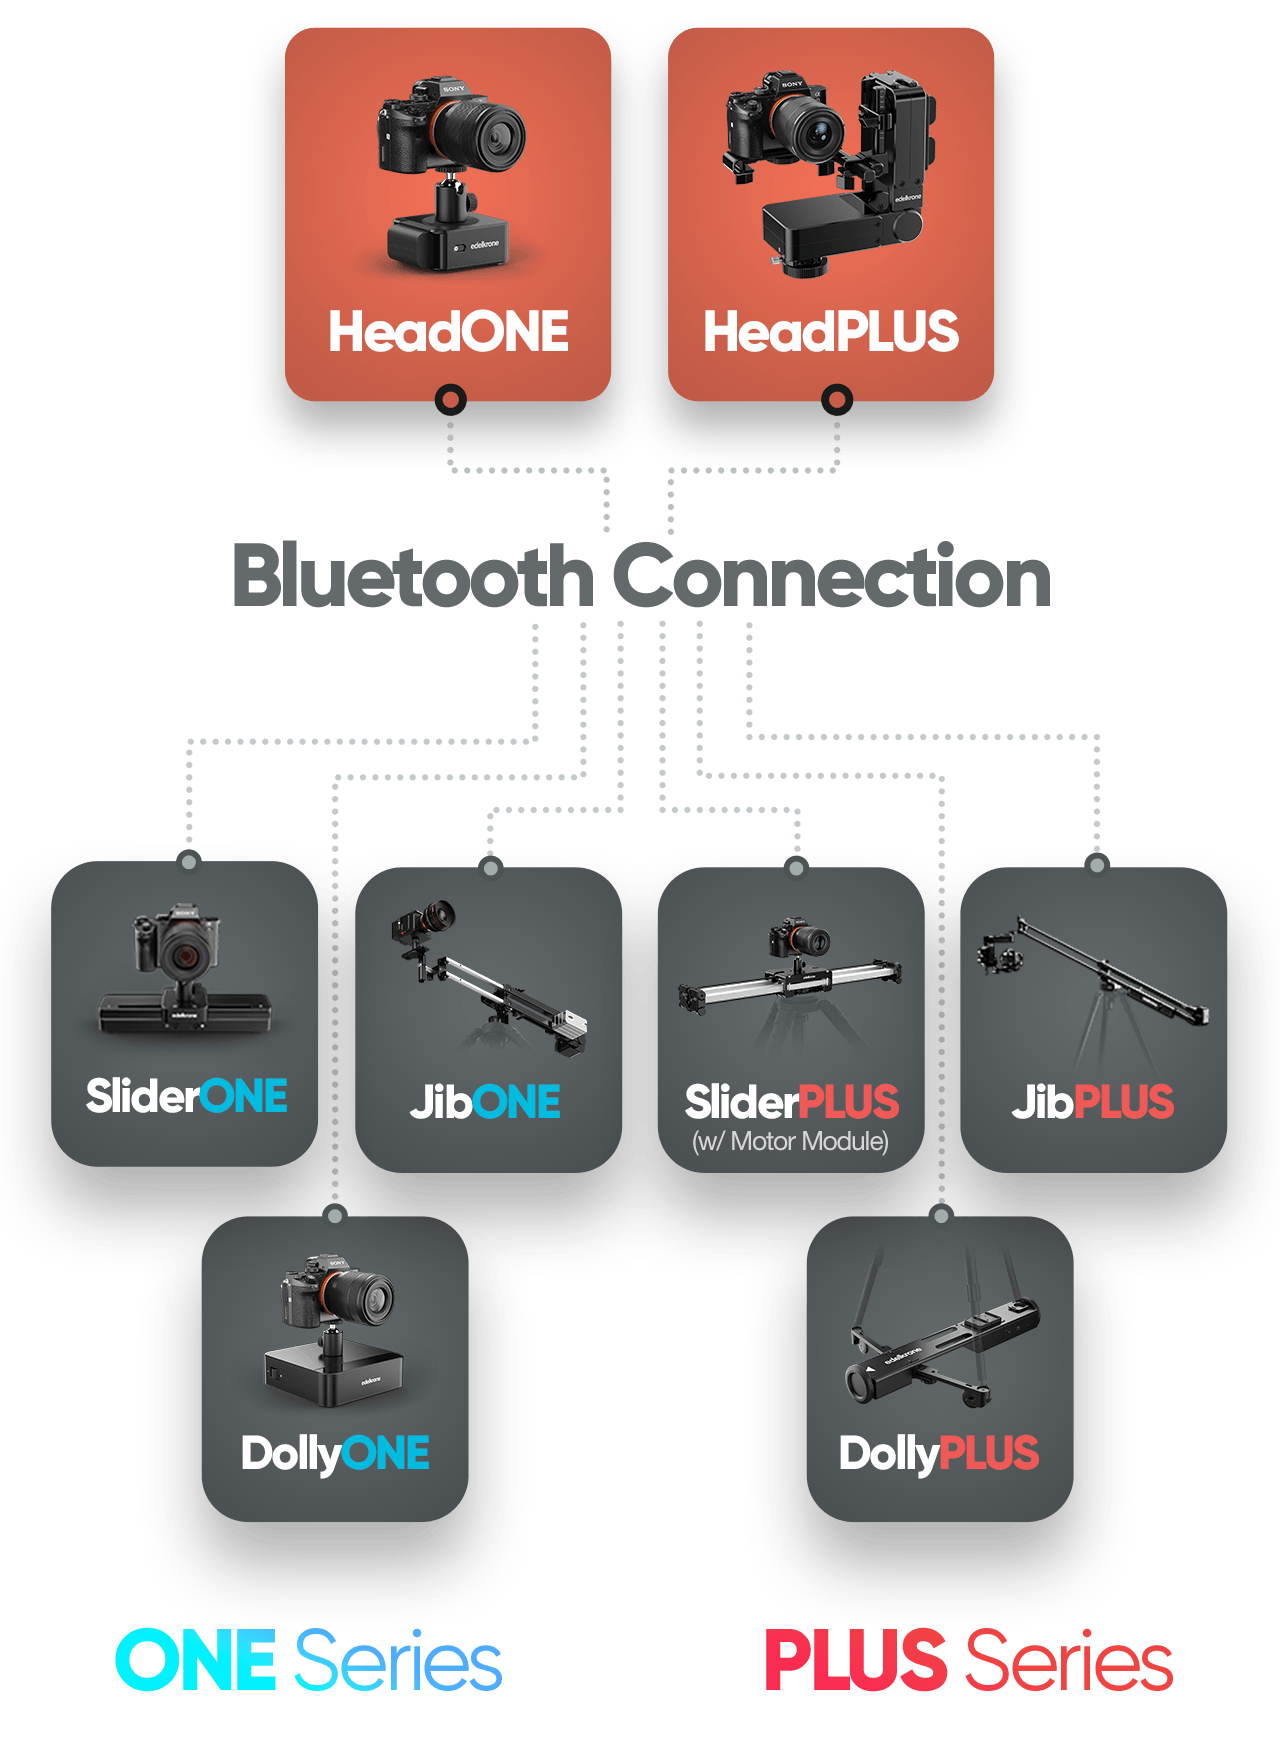
We have created an intricate storytelling ecosystem, impossible to notice just by looking at individual products, meticulously thought out and carefully developed over the years. We will be sharing with you on this page our general perspective on camera movement, the unique features of our product ecosystem that cannot be found anywhere else, and its equally unique ease of use.
▼
Grouping Devices
You can either directly connect to a single device and control it individually, or create a group of devices and control them collectively. Once grouped, the devices remain in the group until one of them is turned off.

Point Tracking Mode
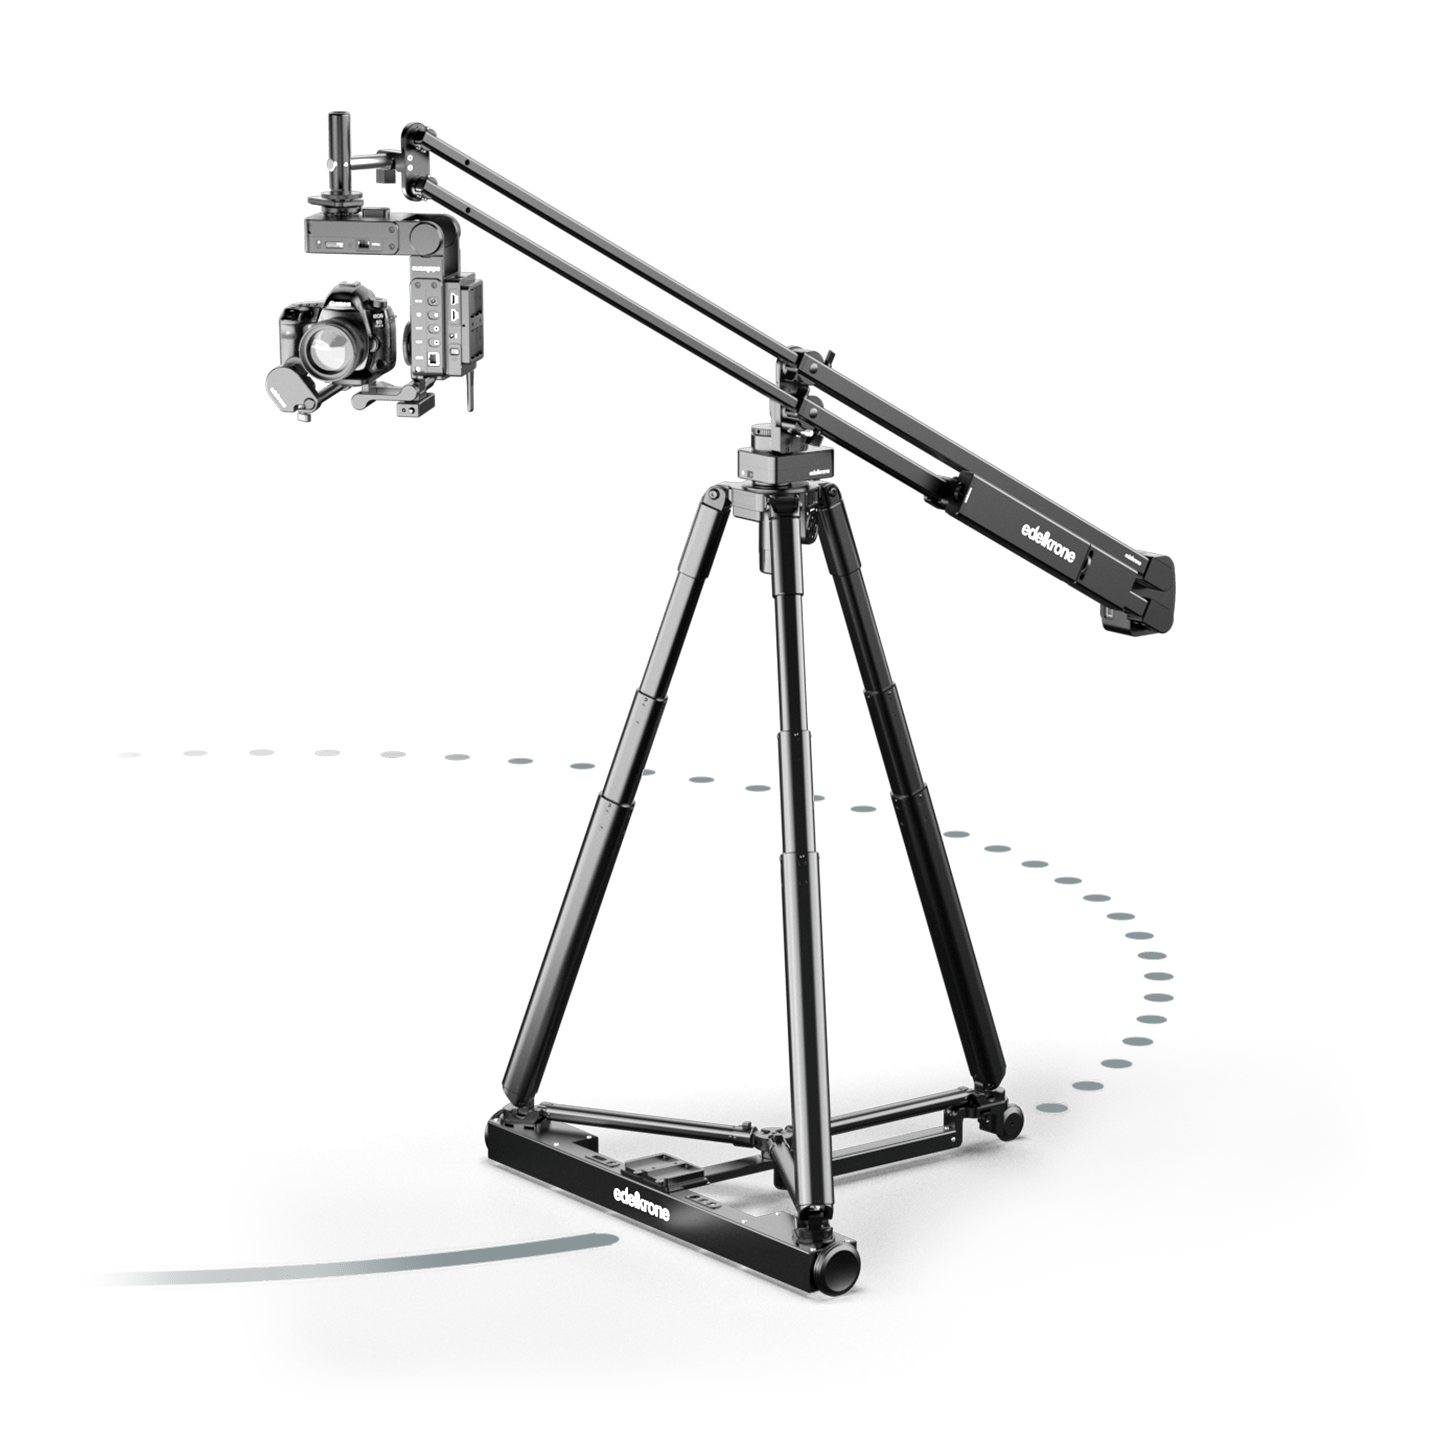
With the edelkrone exclusive Spatial Point Tracking Feature, you can lock on to any point in 3D space while your camera is moving on edelkrone sliders, jibs or dollies.
With the separate buttons to control the body and head you can trigger any body motion without worrying about the head control. HeadPLUS and HeadONE will act automatically to keep the point fixed in the frame giving you amazing parallax results.
As long as you have paired your edelkrone head with an edelkrone motorized Slider, Jib or Dolly, you can take advantage of the Point Tracking feature.
Even while you are manually moving the system, HeadPLUS and HeadONE remains locked.
Teach a Point Easily
Press & hold on any Point button to teach a new point. App will guide you to aim on the same Point (subject) with your camera from 2 different angles. This can be done in a matter of seconds.
Head & Body Control Separated
Point Buttons make the head lock on a target point so once you trigger body motion by using any of the position buttons, the head will adjust itself in realtime keeping the frame locked on the point.
No image processing
While your Slider/Jib/Dolly is in motion, point tracking mode uses realtime inverse kinematic calculations to adjust the pan, tilt of the head (and focus if you are using HeadPLUS with Focus/Zoom Module). This method is unique to edelkrone motion control systems, and since it uses no image processing, it is currently the best performing and most reliable parallax video solution in the market.
Switch between points while the body is in motion
Point Tracking Mode will greatly enhance the appeal of your storytelling and exceed expectations by delivering unparalleled, captivating visuals.
Normally, achieving such visuals would require advanced motion control programming knowledge, hired experts, and long hours.
With edelkrone, these results are effortless and achieved right on the first try. You can even use this flow for LIVE scenarios.
Relocating the point in frame
While point tracking is active, you can update the position of the point in the frame with the pan/tilt joystick. The point will stay there throughout the motion. Also, you can focus shift or zoom shift using the focus/zoom controls (HeadPLUS only). This gives you flexible update options on the go.
Points remember the relocation
Whenever you transition to a point, the framing and focus/zoom shift will be exactly as you set them before.
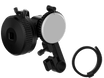
Laser Module: Instant Point Teaching
The Laser Module instantly measures distances. When attached, HeadPLUS can determine the distance from the camera to the target, enabling an instant Point Teaching process.

Point tracking also works on single axis!
Even with a single HeadONE, you can achieve stunning parallax shots.
Watch the full Point Tracking Feature video to learn more!
▼
There is more.
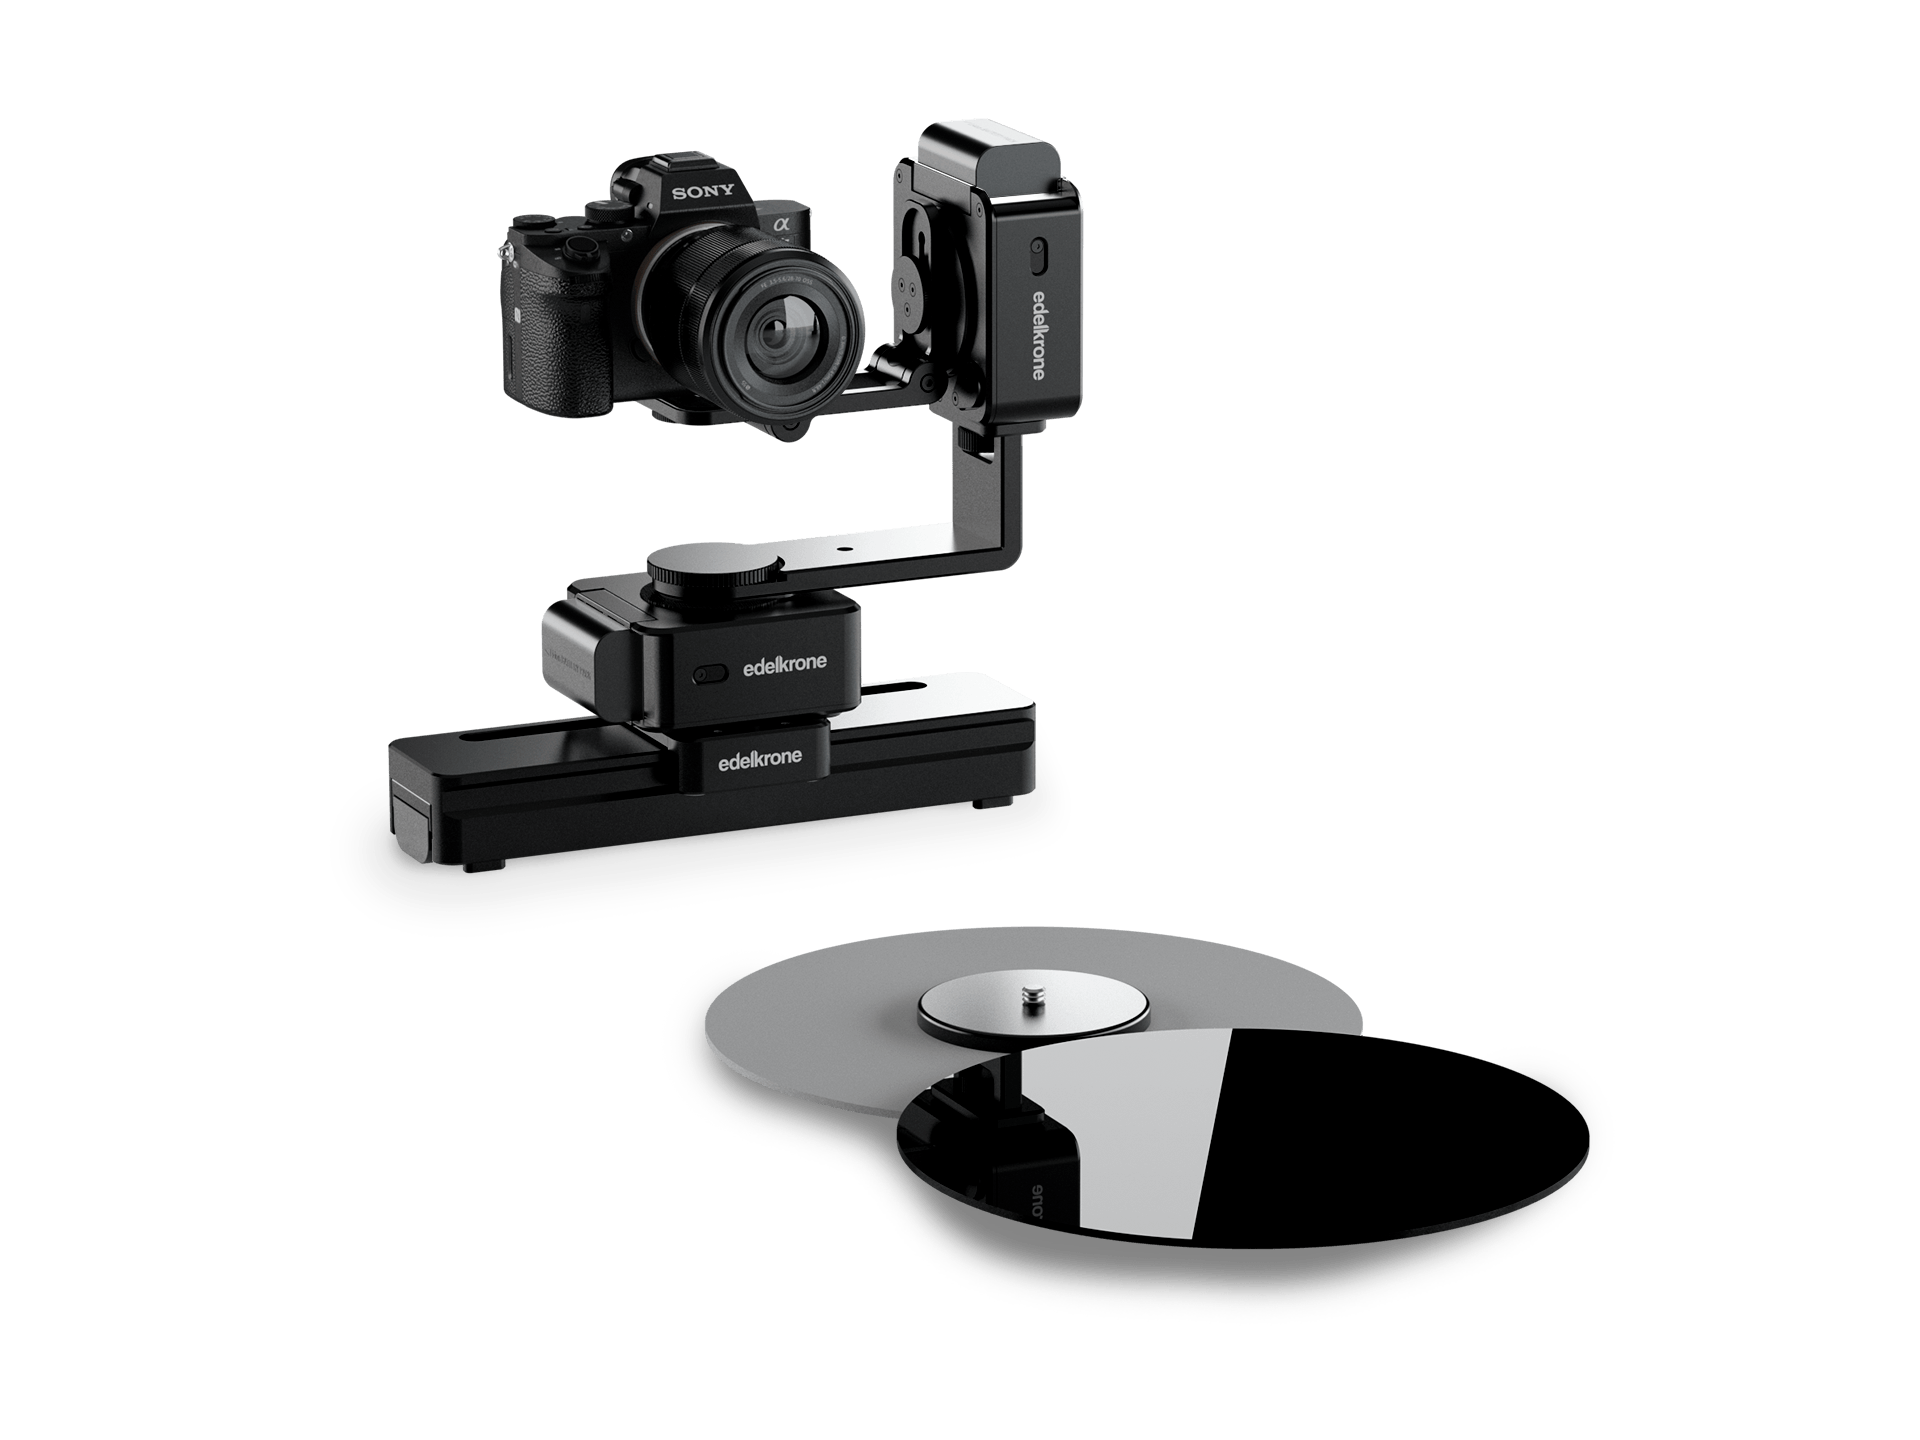
Point Tracking Mode can track moving points too
Subjects rotating on the motorized Turntable can also be tracked by the Point Tracking mode. (Requires HeadPLUS v3 to track the point and HeadONE to turn the Turntable)
Works With Any Body
You can pair your HeadPLUS v3 with any version of HeadONE to rotate your products and combine it with any edelkrone body device (Jib, Slider or Dolly) to control your camera movements.
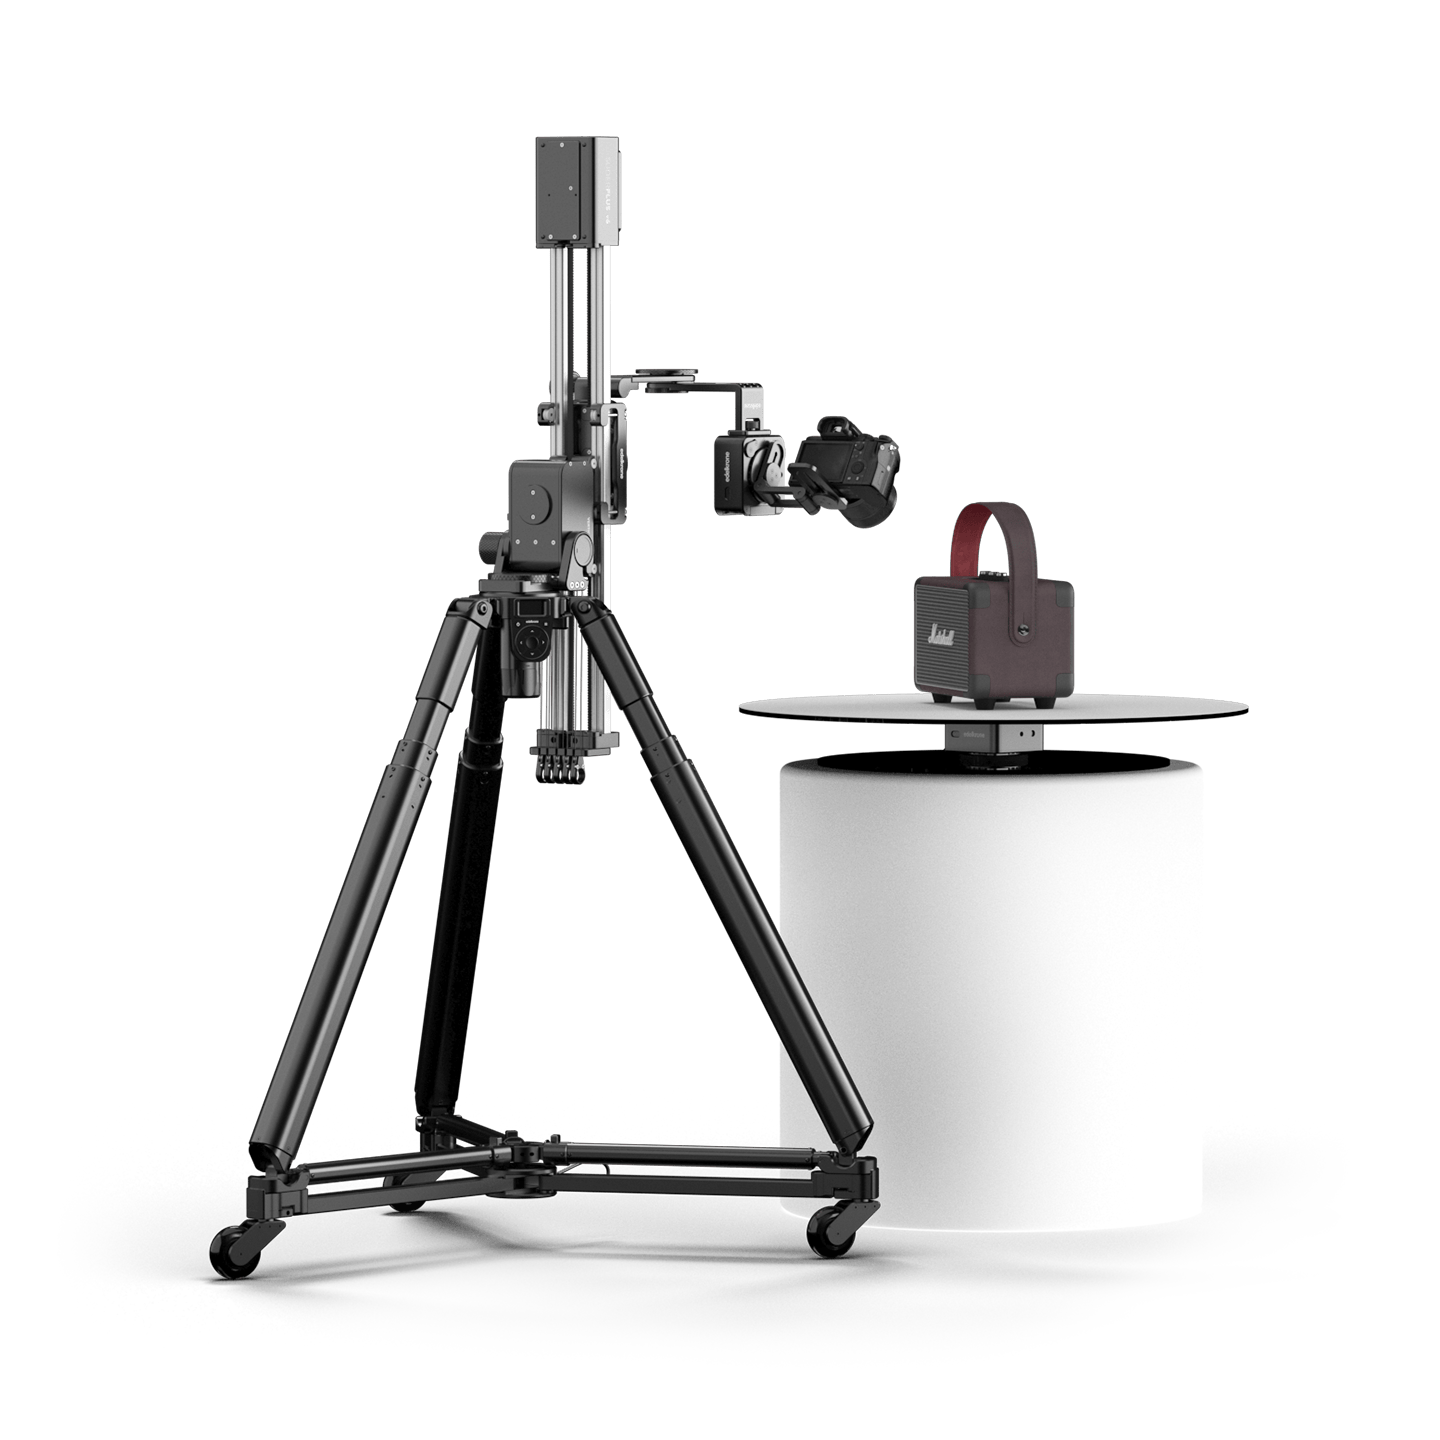
Simply set the start and end positions
Even while manually rotating the turntable, HeadPLUS stays locked on your subject, keeping perfect focus. Easily test different angles, adjust framing, and fine-tune your motion without losing track of your product. Once you’ve found the perfect movement, let the system take over for a flawless automated shot—fast, effortless, and precise.
Switch Between Multiple Points
Store multiple points and seamlessly transition between them while the system is in motion, creating smooth and dynamic camera movements with precision.
Captivating Results in No Time
Whether you’re filming commercials, product showcases, or detailed reviews, Point Mode v2 delivers seamless motion, precise automation, and breathtaking shots—without the hassle.

Benefits in Keypose Mode
• Allows you to switch focus between two keyposes. • Enables zoom transitions between two keyposes.
Benefits in Point Track Mode
• Keeps the tracked point in focus throughout the tracking (thanks to lens mapping for autofocusing). • Lets you set different zoom levels for each point during transitions.
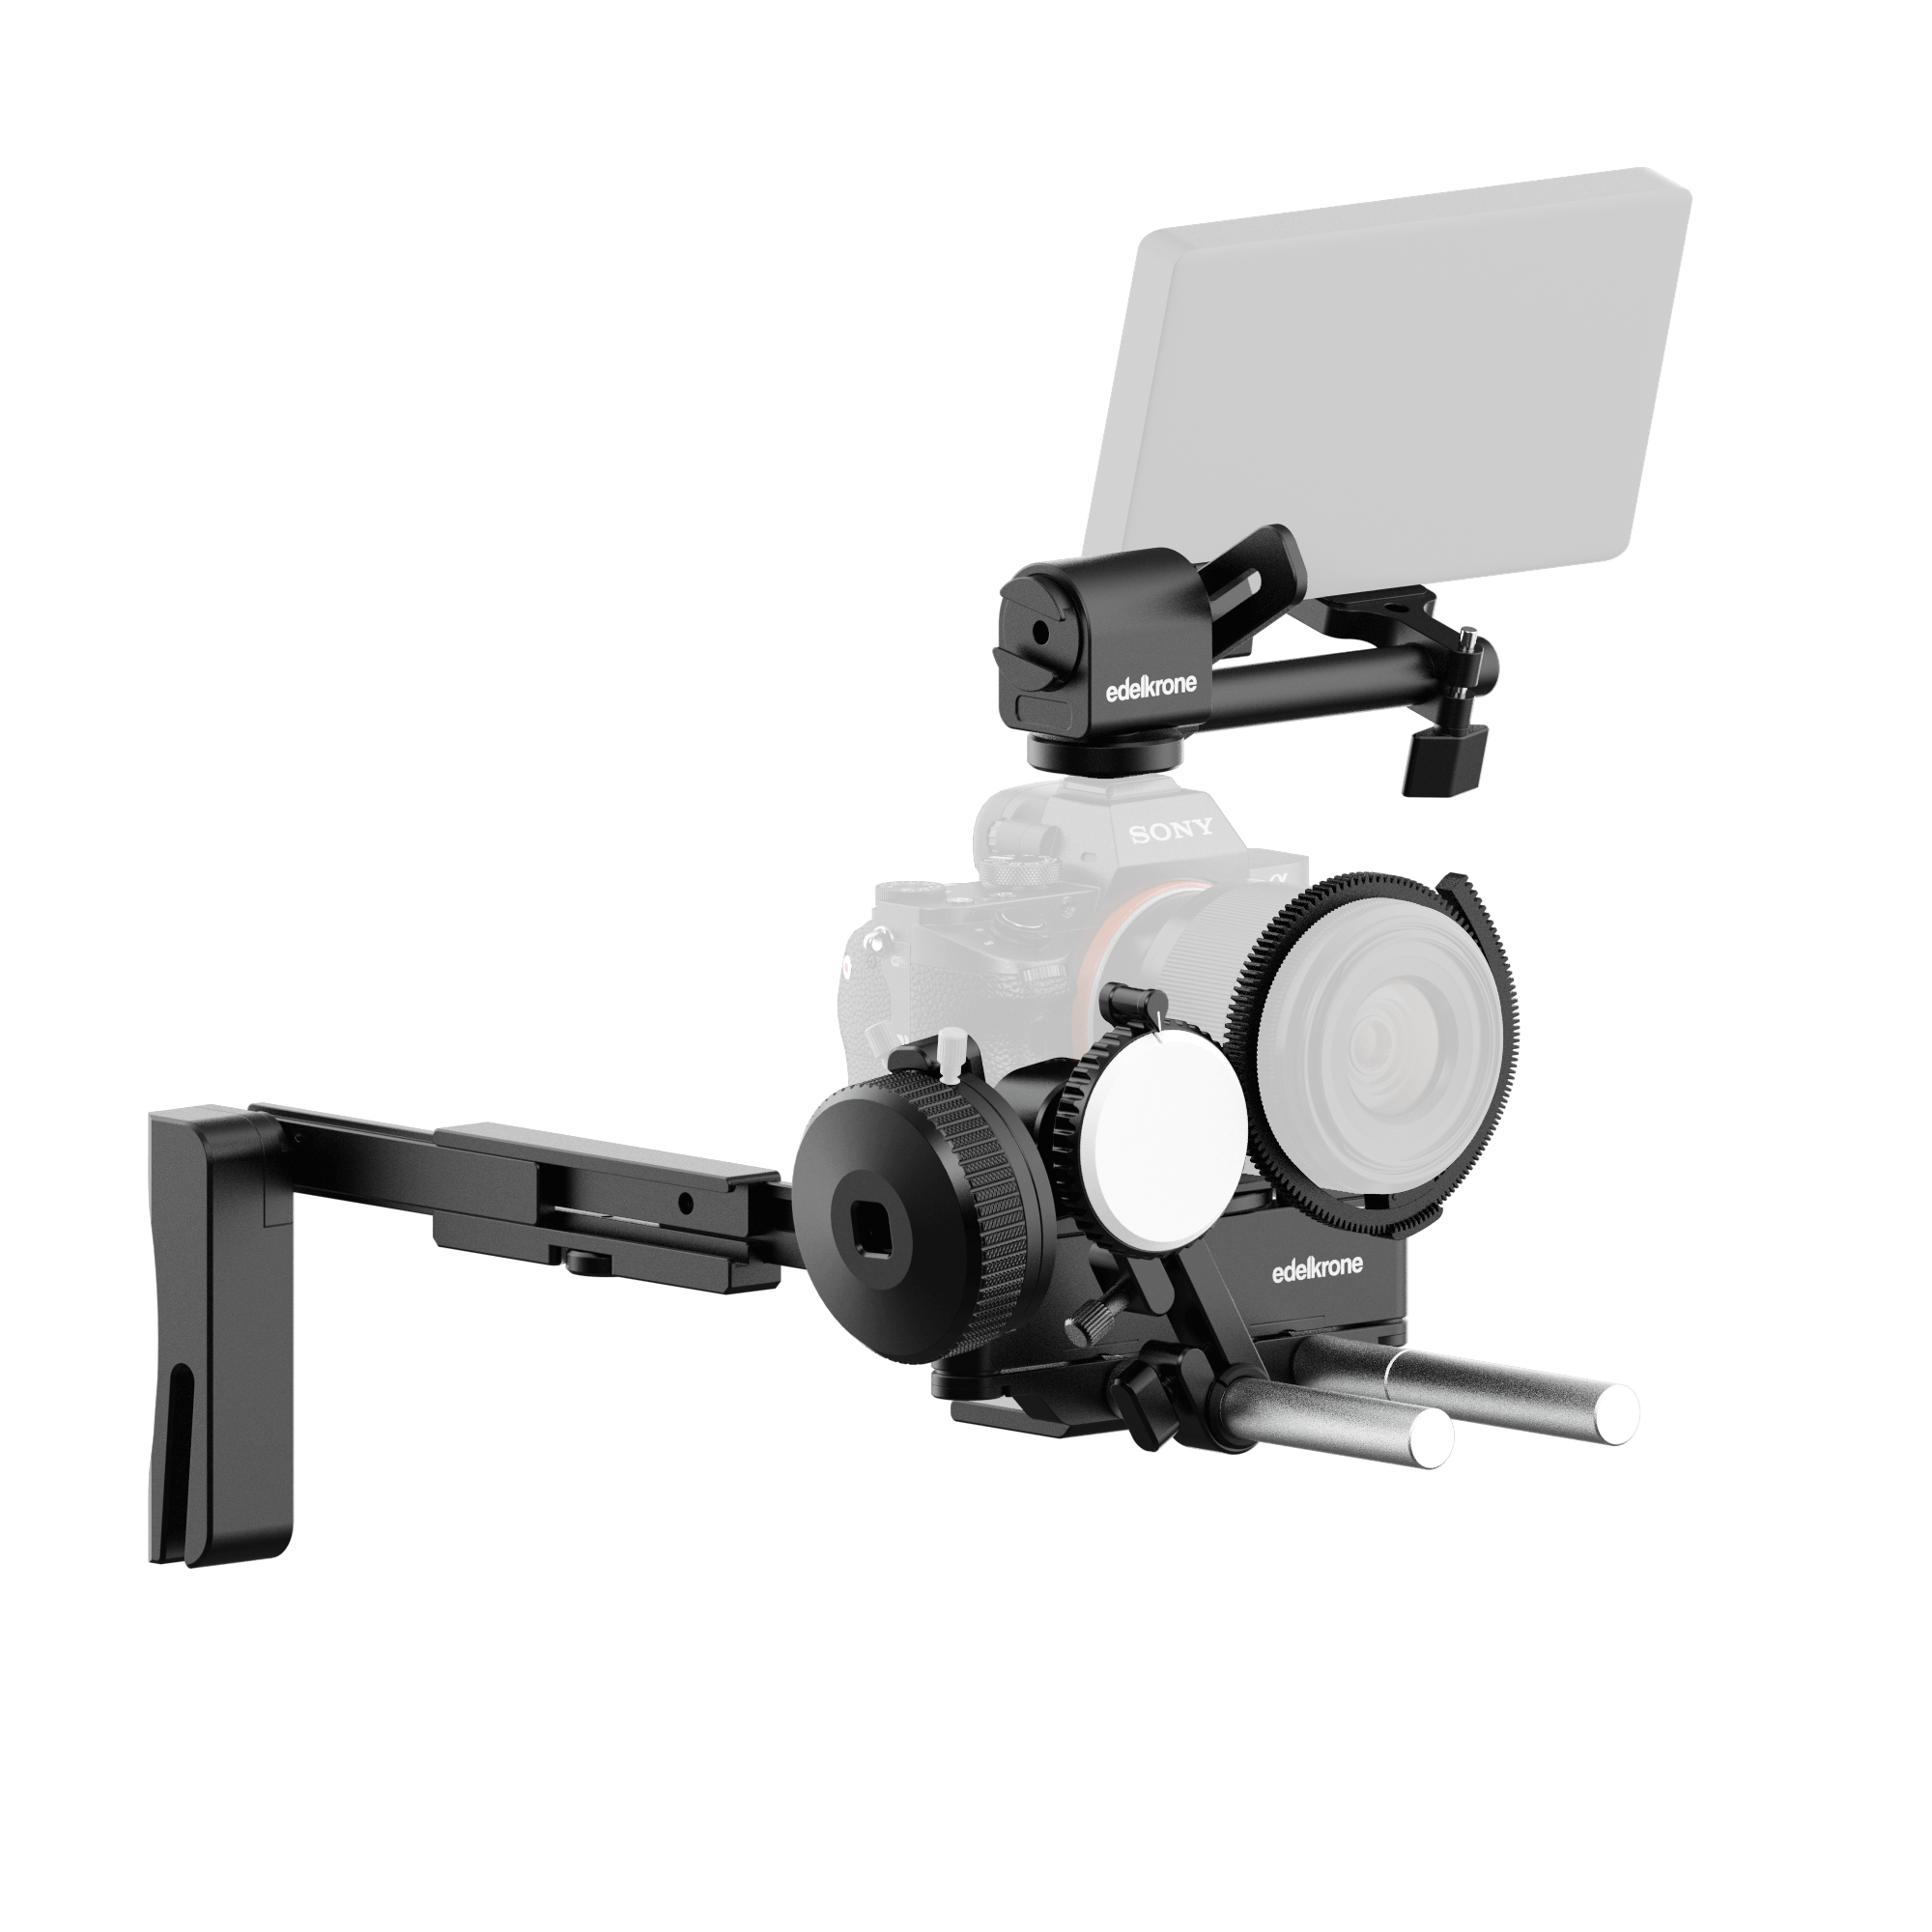
If you have HeadPLUS, no matter which Focus/Zoom Module version you have (v2 / v3), you can benefit from these features.
Set a point to track by simply focusing on it!
You can now aim your camera and focus on the point to quickly teach its position to the system.
Zoom Control
If you attach Focus/Zoom Module to the zoom ring of your lens, you can assign different zoom amounts to each Keypose and Point Button.
Lens mapping
If your lens is not in the list, you can easily teach your lens in a minute (ONE-TIME) and save for future use.
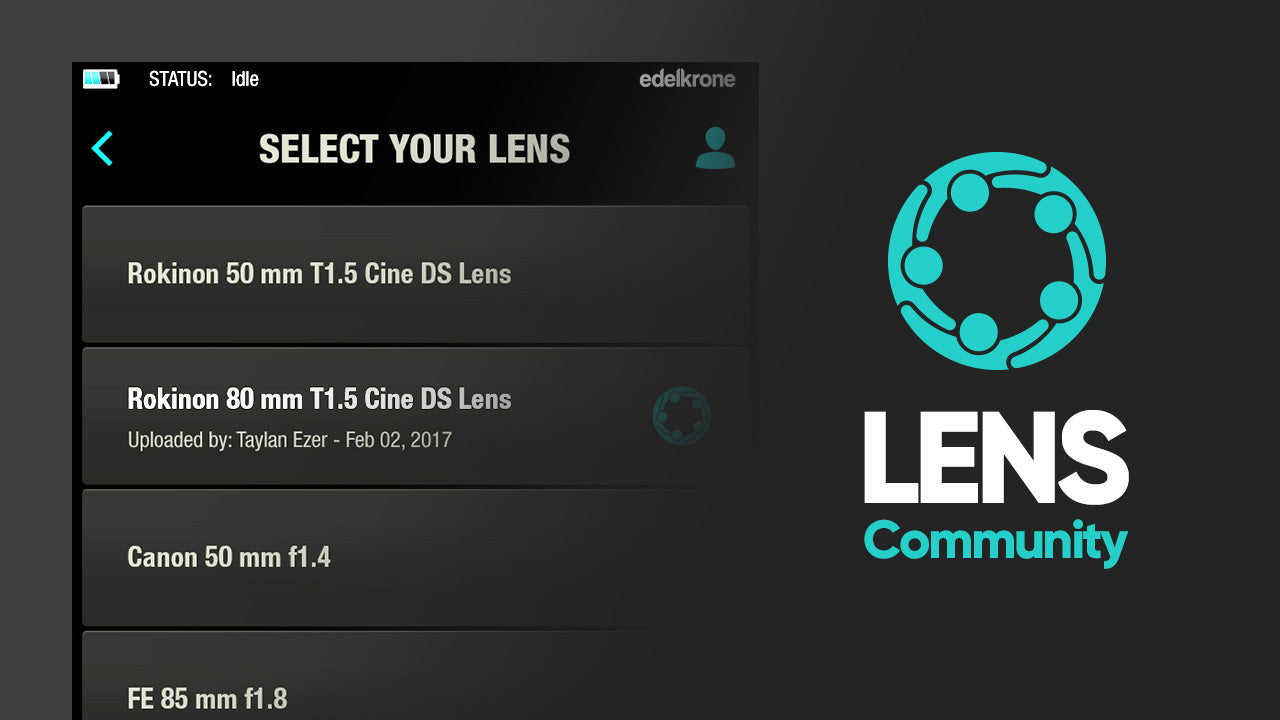
Lens Community
Just choose your lens model from the Lens Community and you are ready to autofocus.

Keypose Mode
Keypose mode is the base controlling mode that works with all edelkrone devices and device groups. With this mode, you can save the current pose (position/rotation/focus etc.) of the device or device group to a single button. Think of it like a snapshot of the position of the whole system.
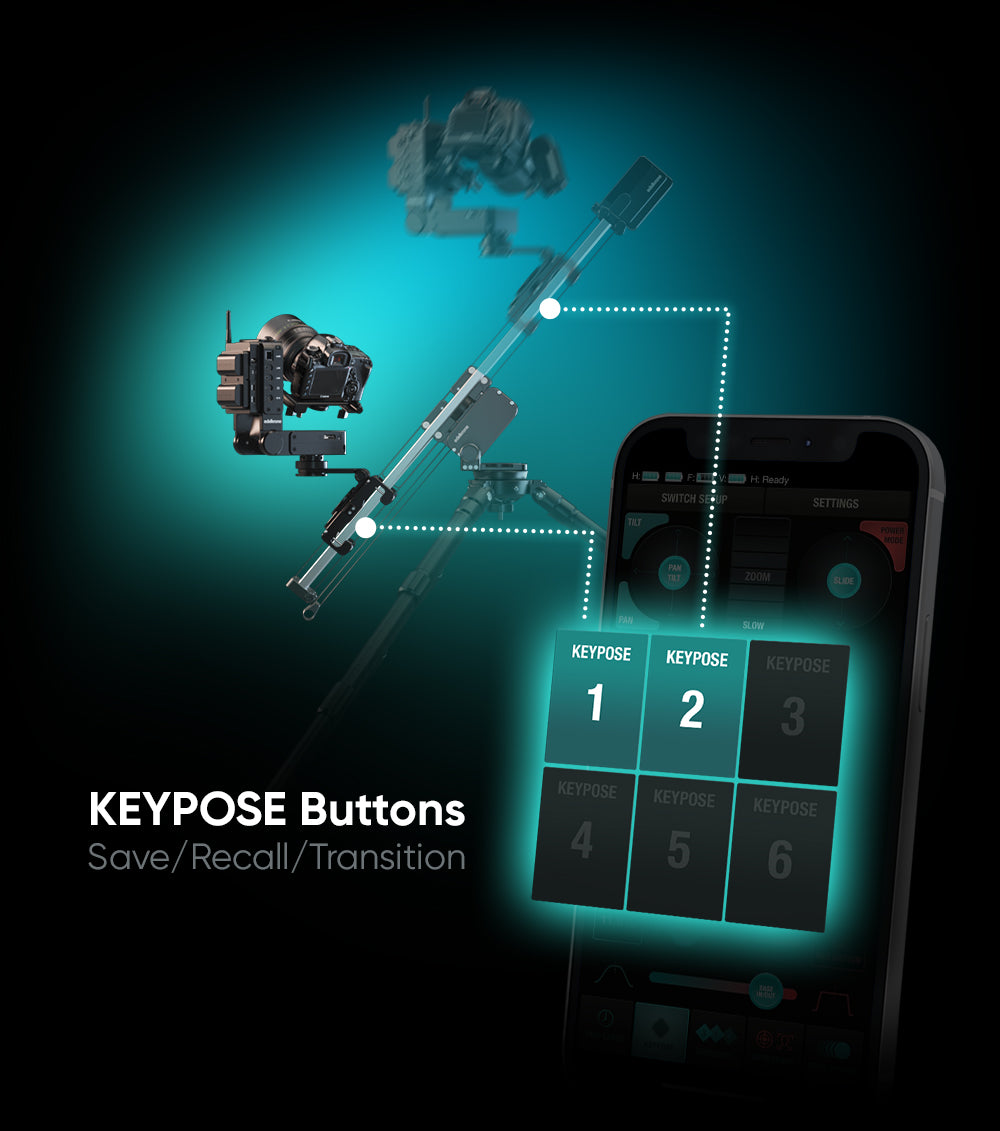
Save & recall any pose
After saving a keypose (tap & hold), tap the button again to recall the system back to that pose. By pressing one keypose after another, you can transition your camera from one pose to another smoothly.
Loop between poses
You can tap 2 Keyposes at the same time, and initiate a never ending loop between these 2 Keyposes. Perfect for long interview sessions, podcasts, educational videos, etc.
Fine-tune your poses with real world measurements
Keyposes can be edited numerically afterwards. (inch, cm, degrees). By tapping the edit button on the Keypose button, you can access the numerical state of each axis, and update it to a different value.

Sequencer Mode
In Sequencer Mode, Keyposes act like keyframes on a timeline. This way, you can create advanced camera motions with minimal effort.
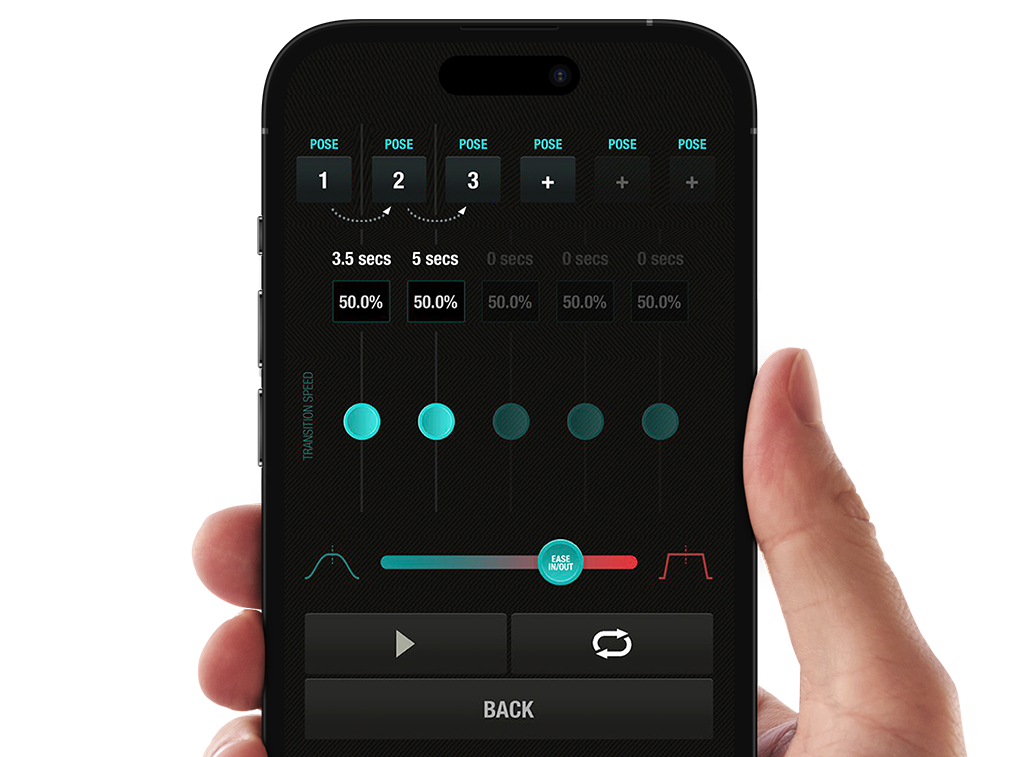
Create a pose sequence with ease
Once you have 3 or more Keyposes saved, you can use the sequencer mode to trigger these Keyposes in any order you like. You can set separate transition speeds between each pose, and you can even put this sequence in to a back and forth loop.
▼
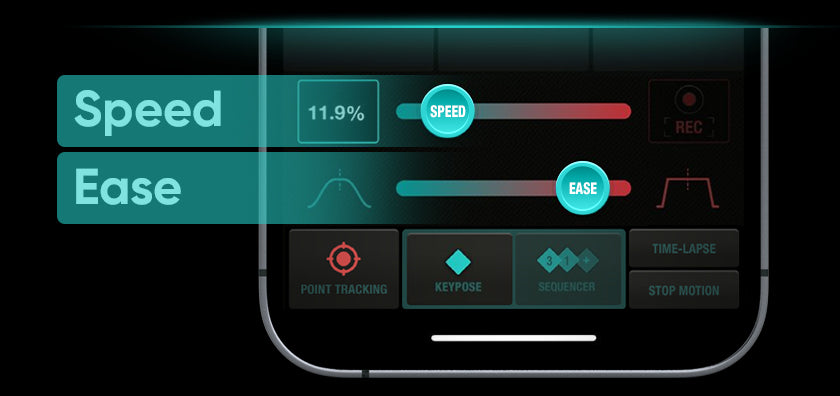
Adjusting Speed & Acceleration
The camera actions happen based on the speed and acceleration you set.
By double tapping on any action button, you can make your camera to move to that position at the highest speed and acceleration.
If you set low acceleration and high speed, the system will prioritize and deliver the low acceleration but it may fail to deliver the high speed if and when the motion travel distance is too short.
If you are activating a group of products, the speed of all the motors in the devices are set according to the slowest motor in the group.

Key Tap Recorder
One other way of programming a complex camera motion is using the key tap recorder. Once you tap the record button, you can then use the Keypose & Point buttons, speed, acceleration adjustments, and do any amount of motions one after another. You can leave any amount of idle (non moving) time between actions, and all the action gets recorded with 100% repeatability.
▼
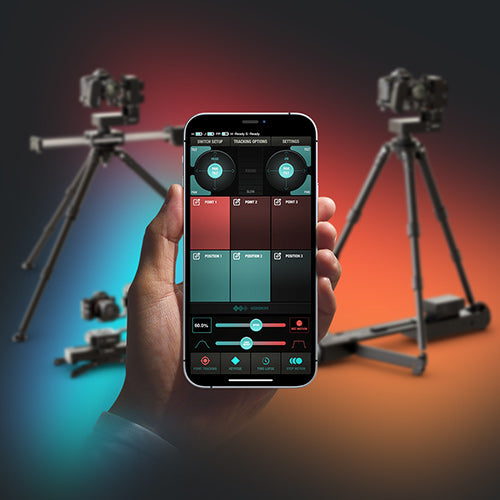
Live Camera Feed in the App with the Vision Module
Being able to monitor and control your motion directly from the app is key to becoming a self-sufficient content creator.


HDMI input to wireless
You can connect your camera to Vision Module with an HDMI cable. Vision Module can process this video and control HeadPLUS to track Faces and Objects in the video. All image processing done for Face/Object tracking happens in the Vision Module, NOT your phone or tablet.
Direct or local Wi-Fi
Vision Module can transmit video to an already available Wi-Fi network. If your phone is also connected to the same network, you can open the edelkrone App and view the live video. Alternately, if you are working outdoors, Vision Module can act as a Wi-Fi port and let other devices connect to it directly.

Stream to up to 5 apps
In the edelkrone app, you can access the video stream in two main ways. One way is from the keypose mode or point tracking mode screens, and the other is from the watch screen. Up to 5 mobile devices can stream the video coming from Vision Module at the same time.

Face Tracking (HeadPLUS)
Once you connect the Vision Module to HeadPLUS, edelkrone App smartly adds the video stream on the App screen and you can trigger Face Tracking (also Object Tracking) feature from the screen with a single tap.
You can start Face Tracking whenever a face is in the frame. Once activated, HeadPLUS will automatically pan and tilt to keep the face centered in the upper third of the frame.
Tap anywhere on screen to reposition the face
During face tracking, you have the flexibility to reposition the face within the frame by tapping anywhere on the screen. The system will keep the face there.
Search for a new face
Additionally, you can use the left and right direction buttons to switch to a different face in that direction. Once pressed, Vision Module will search for the next face in that direction. If no faces are currently present within the frame, HeadPLUS will pan until a new face is located, at which point it will automatically initiate tracking for that face.
Adjust zoom while Face Tracking
If you have attached Focus/Zoom Module to your lens's zoom ring, you can actively adjust the zoom while face tracking. Moreover, Vision Module will zoom out while searching for a new face, maximizing the chances of finding one. Once a new face is detected, it will smoothly zoom back in and initiate tracking for the newly identified face.

Object Tracking
Object Tracking can be triggered any time by pressing the object tracking button. Once pressed, you need to drag-select the object you want and then press DONE. Object tracking starts immediately.
▼
All in Harmony

You can switch between tracking types and keyposes anytime you want and pilot your productions like a pro.
Face Tracking
(HeadONE)
Phone Mode enhances HeadONE with Face Tracking capabilities. Whether you're using a single HeadONE or dual HeadONEs, Phone Mode ensures that your camera (or phone) follows your subject's face with precision, and it's all done through the convenience of your phone. (iOS only)
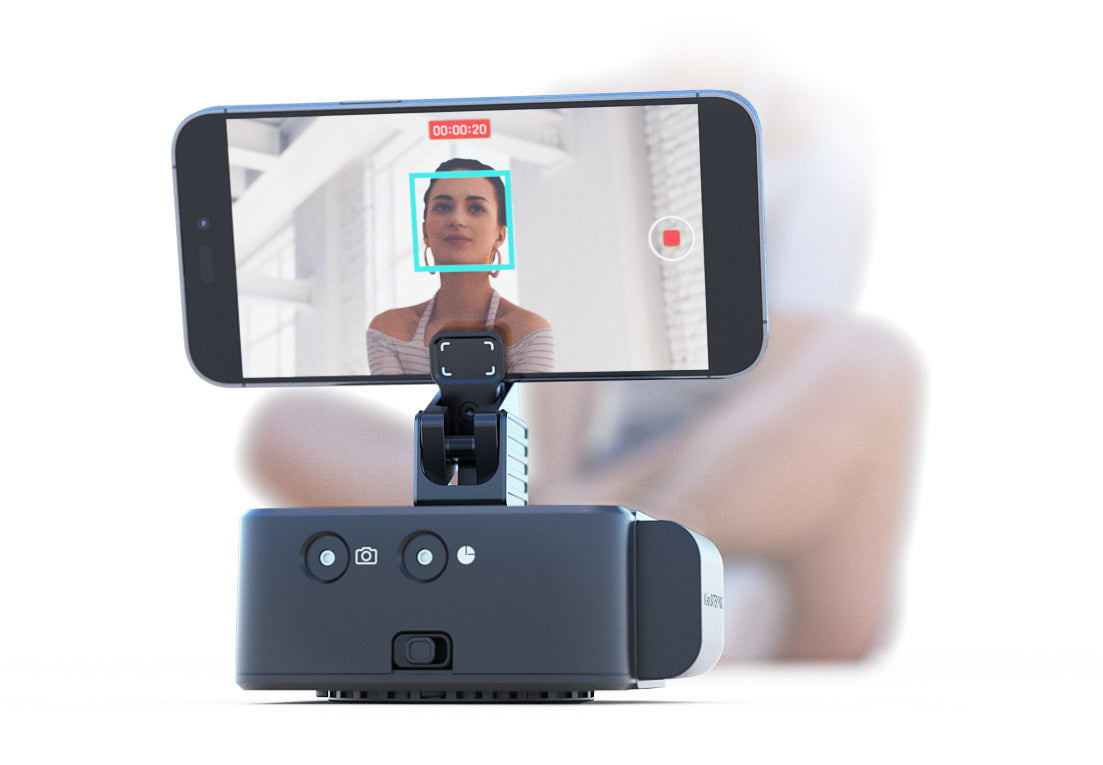
Whether you're recording presentations, hosting webinars, vlogging your adventures, conducting interviews, or capturing documentaries, Phone Mode will keep you at the center of attention.
*Currently, Phone Mode becomes accessible only when you connect to HeadONE(s) as stand-alone.
Recording directly to your phone
Simply attach your phone to HeadONE. Once you activate Face Tracking, HeadONE(s) will elegantly keep the face within the frame, delivering smooth panning and/or tilting for your phone. Both Front and Back cameras of phones* are supported in both horizontal and vertical orientations.
We recommend using an edelkrone PhoneCLIP to attach your phone.
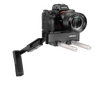
Recording to your camera
By attaching the phone on your cameras hot shoe, you can leverage your phone's face tracking capabilities while recording to your beloved camera. Again, both front/back cameras and both orientations are supported.

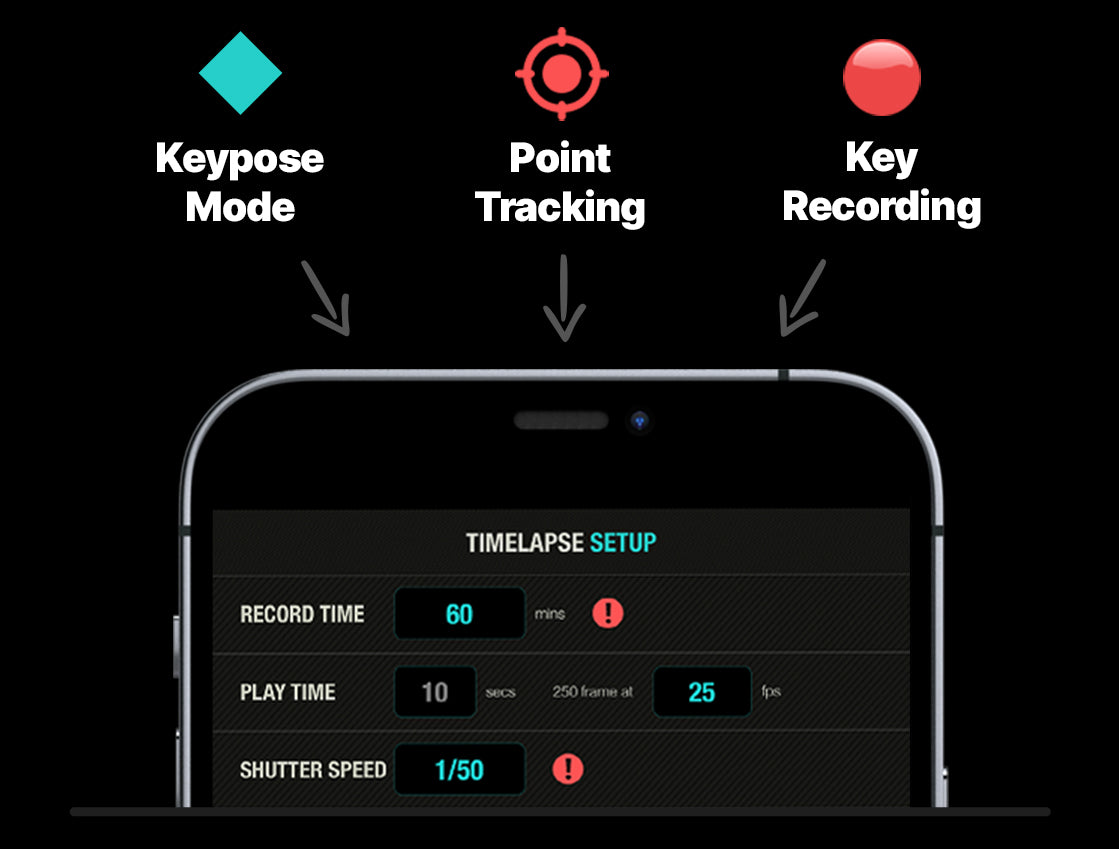
Motion Time-lapse
All edelkrone motion devices come with very easy-to-use motion time-lapse capabilities.
You can convert any camera motion into time-lapse. All the speed and acceleration settings will be preserved in the final motion time-lapse video.
The final time-lapse will be exactly the same as your original, real-time camera motion.
All parameters including duration, slide, pan, tilt, focus and acceleration will be the same.
You can create a Time-lapse video from the keypose section (with 2 keyposes) or from the point track section (with 1 point and 2 positions) or from recorded key taps section.
Setup screen is very straightforward. You enter the total time of the time-lapse shoot and the final video duration.
Once your time-lapse starts, your phone or controller is not required anymore. The system will carry out the time-lapse shoot independently. If you want to pause, cancel, or simply check the status of the time-lapse, you can reconnect your phone or controller to the system at any time.
Unique Time-lapse Features
"Dynamic Time/Motion" and "Time Bouncer" are both unique edelkrone time-lapse features particularly beneficial for professional time-lapse videographers aiming to distinguish themselves from competitors and present something entirely novel to their audience.
Any keypose transition can be converted in to a motion timelapse video and can be combined with edelkrone's unique dynamic time/motion feature.
Any point tracking motion can be converted in to a motion timelapse video and can be combined with edelkrone's unique dynamic time/motion feature.
Making the impossible possible
With the Time Bouncer feature, you can change the direction of time while the system is in constant motion. You just enter how many time bounces (forward & backward flow of time) you want, and the system will calculate everything for you to capture the never-before-seen!
The Bouncing Time feature is not available on JibONE, DollyONE, and DollyPLUS.

Stop Motion Animation
You can create a Stop Motion Animation from 2 keyposes, or 1 point and 2 positions or from recorded key taps.
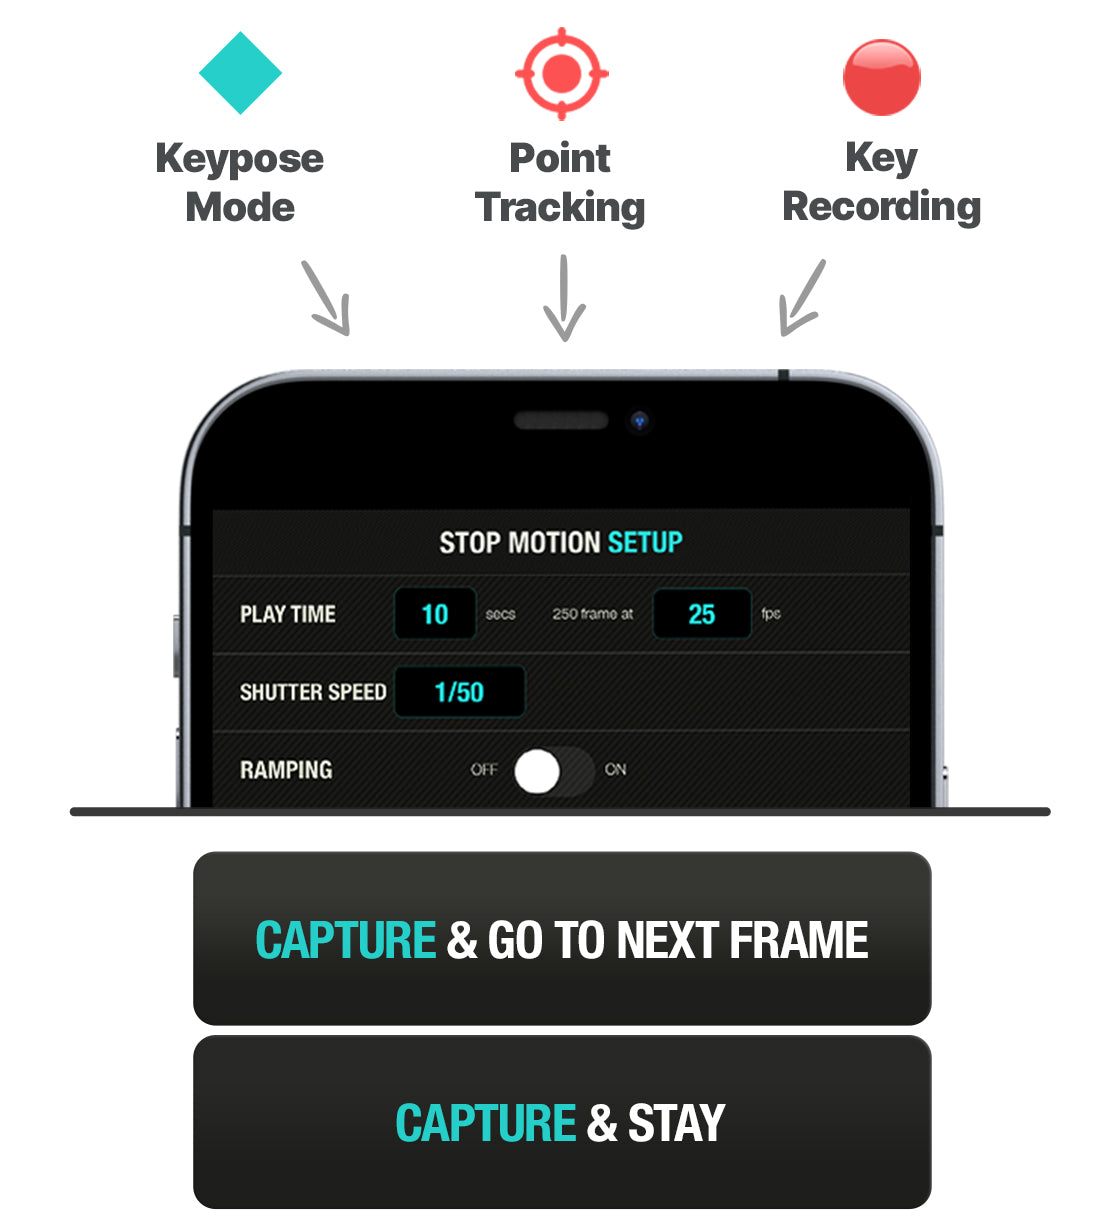
To create a stop motion animation, you just enter the total number of frames you want to divide the whole camera action in to. You can now start triggering the poses one by one to start creating your stop motion animation.
Accurate positioning
While shooting your animation, you can jump to a certain frame number any time you want and shoot your animation frames in mixed order.

360° Mode
360° mode allows you to take panoramic gigapixel photos as wide as 360 degrees. You take many photos next to each other line by line, and stitch them on the computer to get ultra high resolution and wide angle shots of any environment.
360 mode becomes accessible on the edelkrone App when you connect to either HeadONE or HeadPLUS as a stand alone device.
Panaromic Photo Mode
Once you enter this mode, you can adjust the center of your gigapixel photo, then select the angle to left and right, and to top and bottom of the image. You also enter the number of photos from left to right and top to bottom. This is how simple and intuitive it is to setup your gigapixel photo shots.
Once you complete any 360° setup, you can either choose the auto mode for the device to take all the photos, or you can use the manual mode to trigger each photo yourself manually.
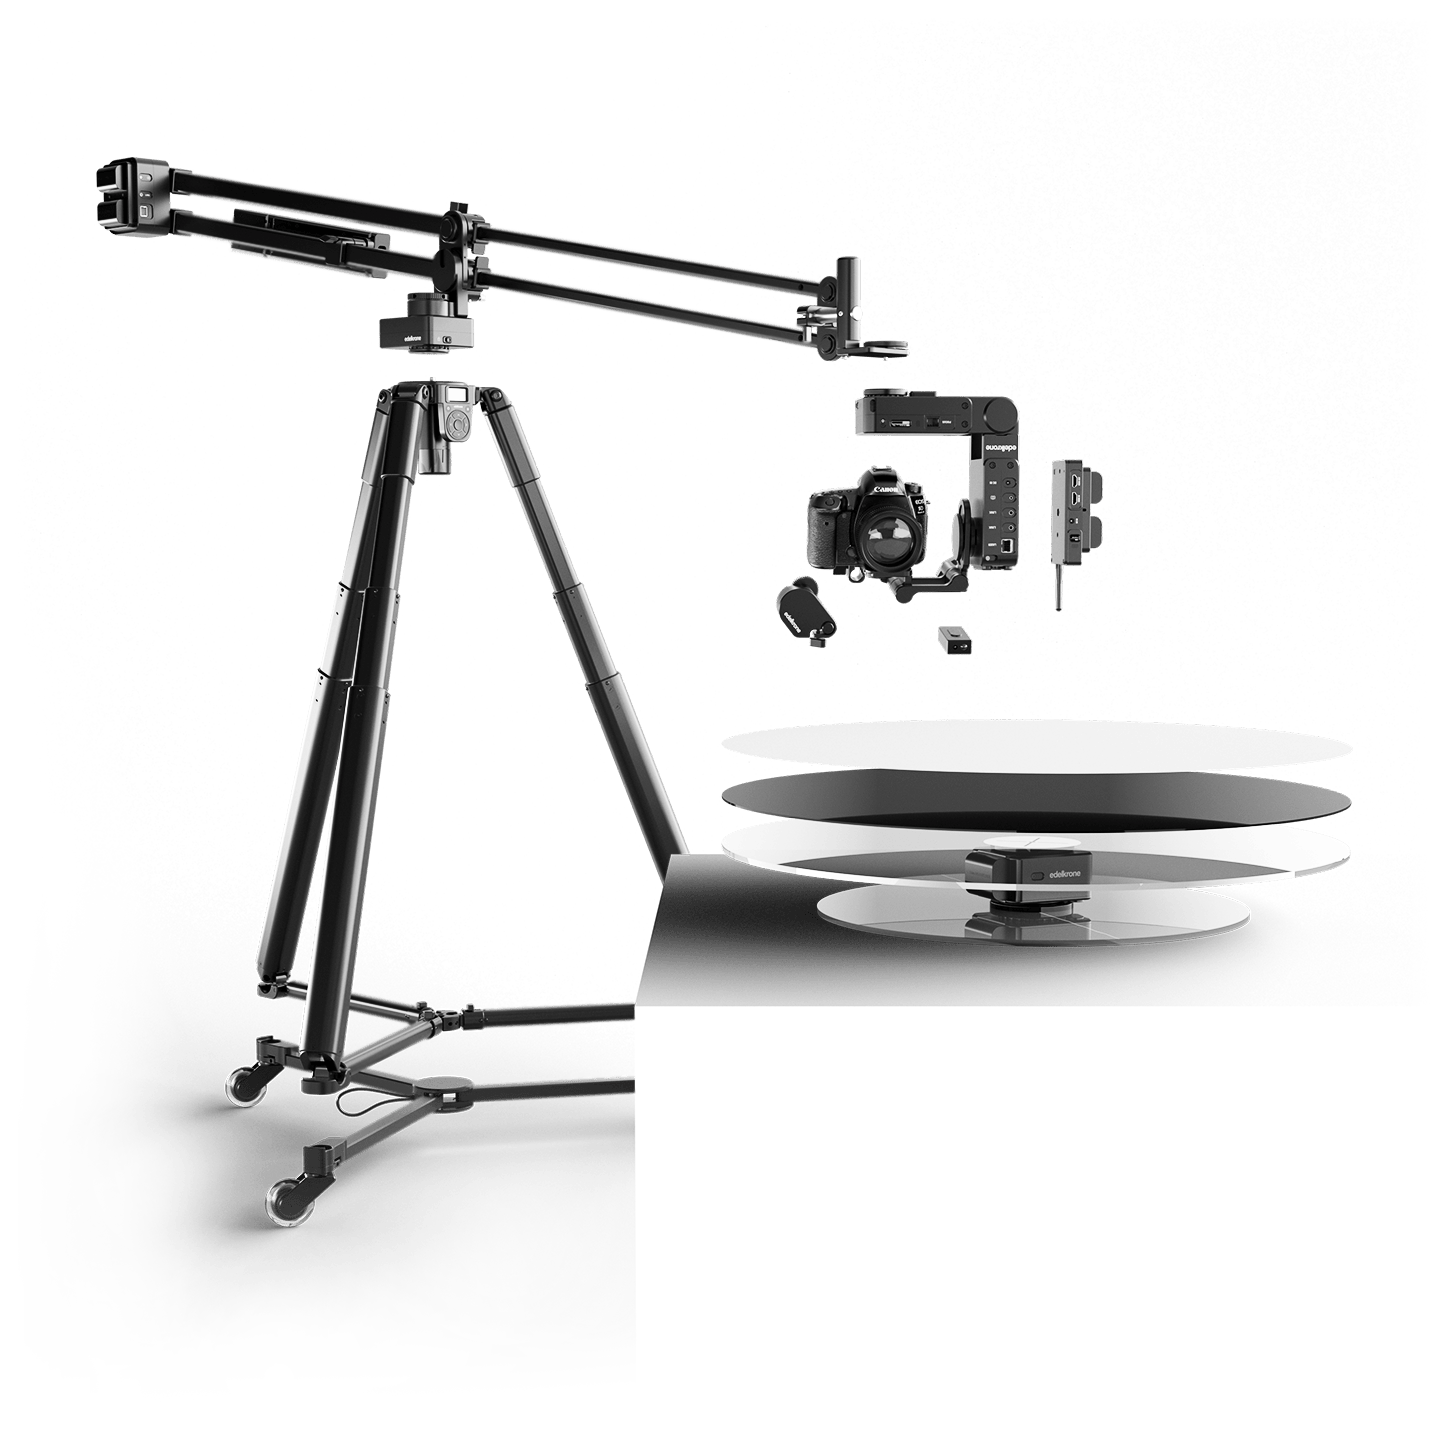
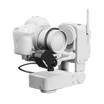
Product Turntable Mode
360° mode is also useful when you want to take 360 degree photos of an object. To take such photos, you need HeadONE, and instead of placing your camera, you place your object on HeadONE. Using Product Turntable Module can be very helpful to create professional results. To take 360 degree photo of an object, you enter +- 180 degrees as horizontal range making 360 degrees and enter the total number of photos you want to take and that’s it.
Just like time-lapse videos or stop-motion videos 360° mode too requires shutter trigger cables. With the help of these cables edelkrone devices can trigger your camera to take pictures at the right positions.
▼
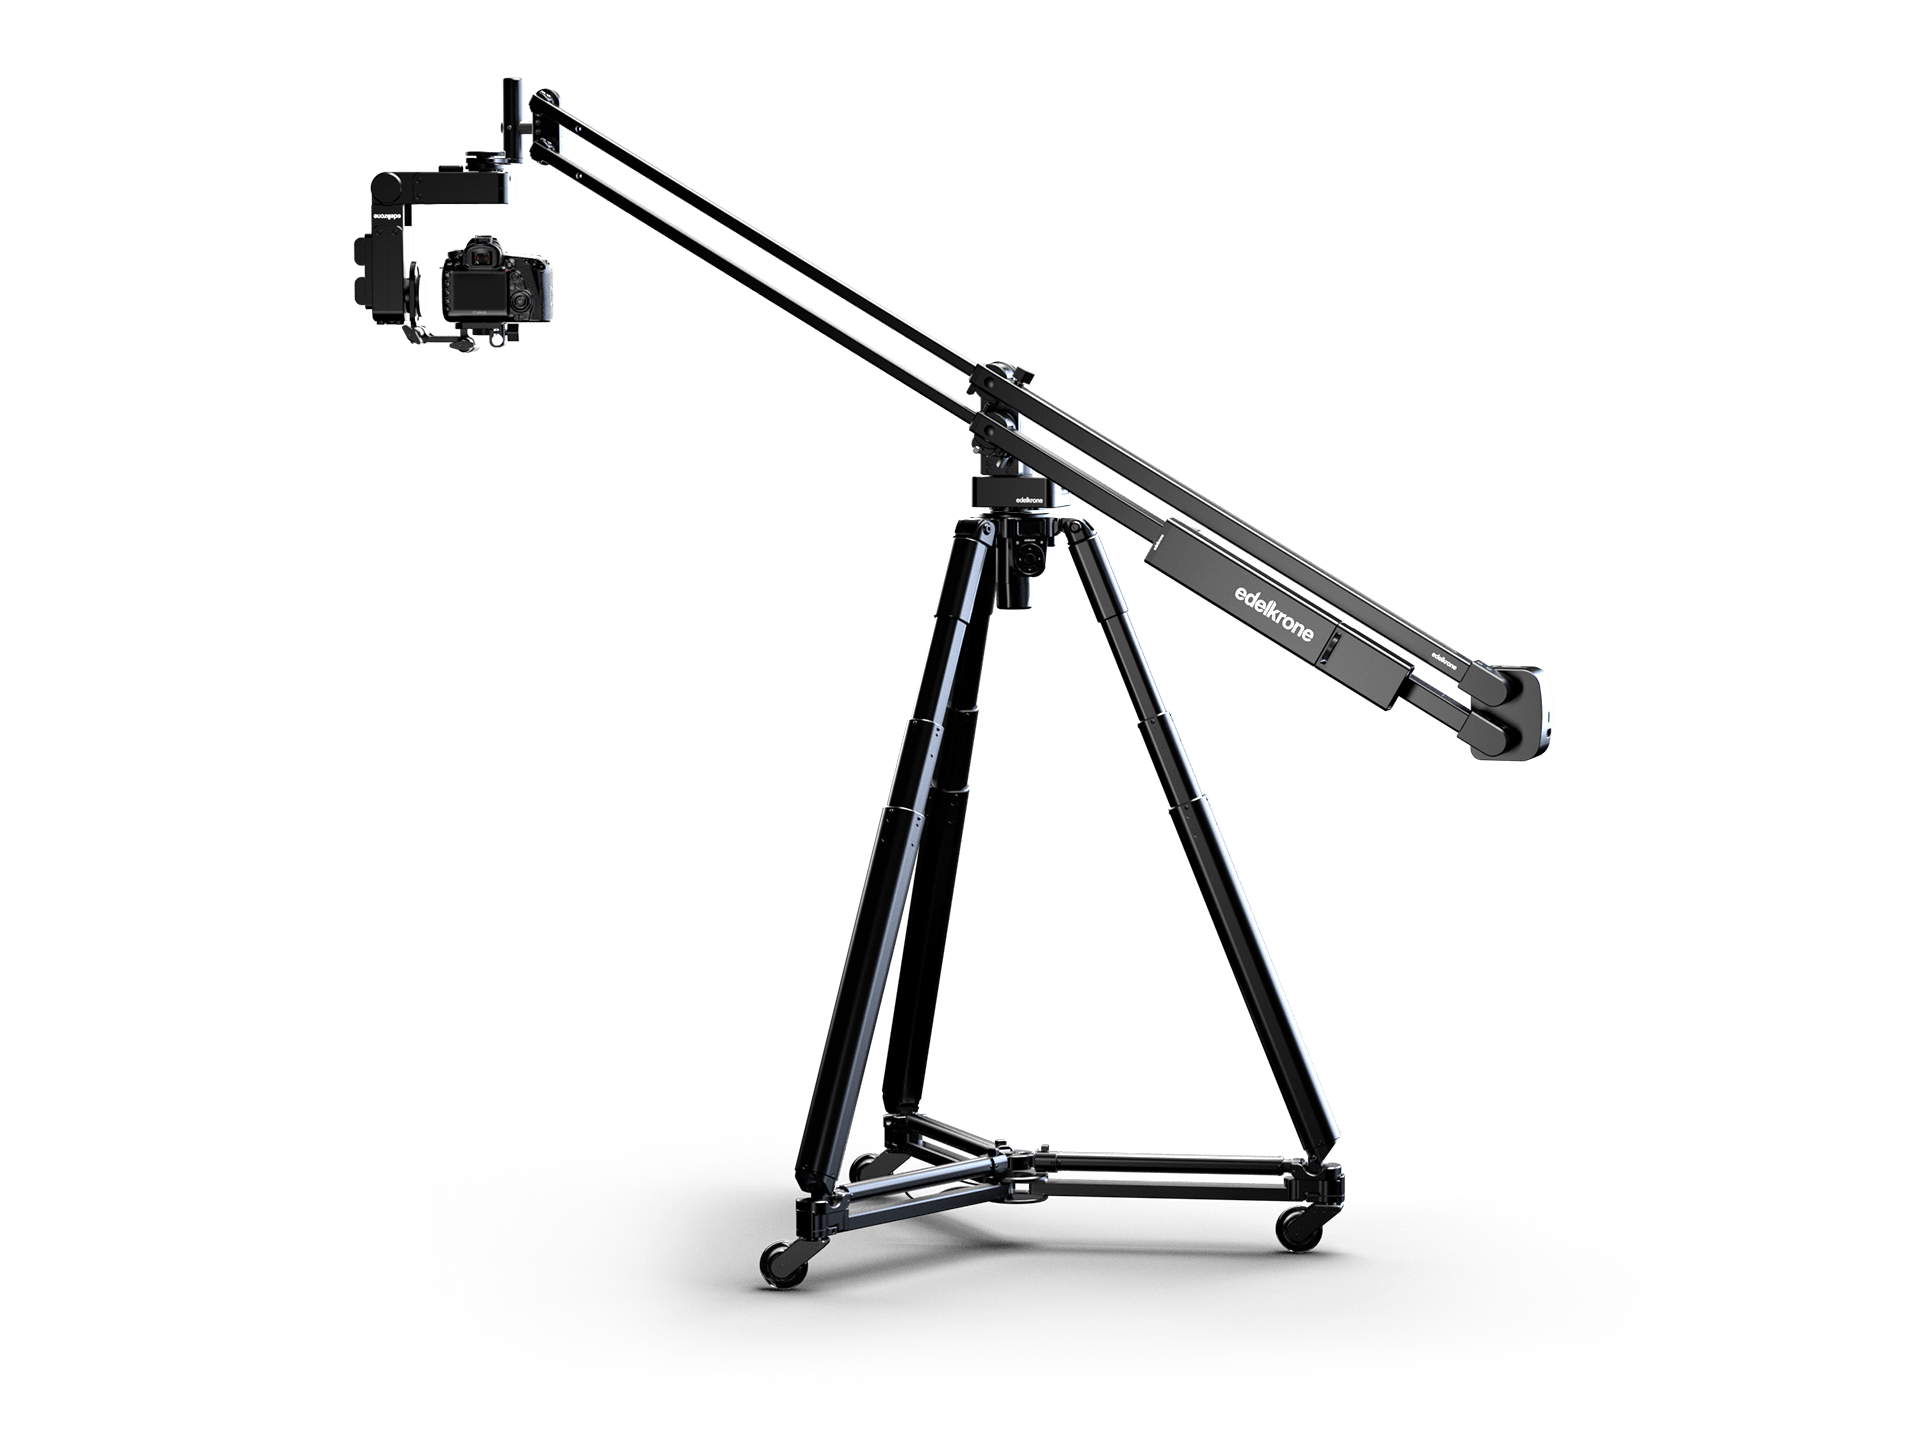
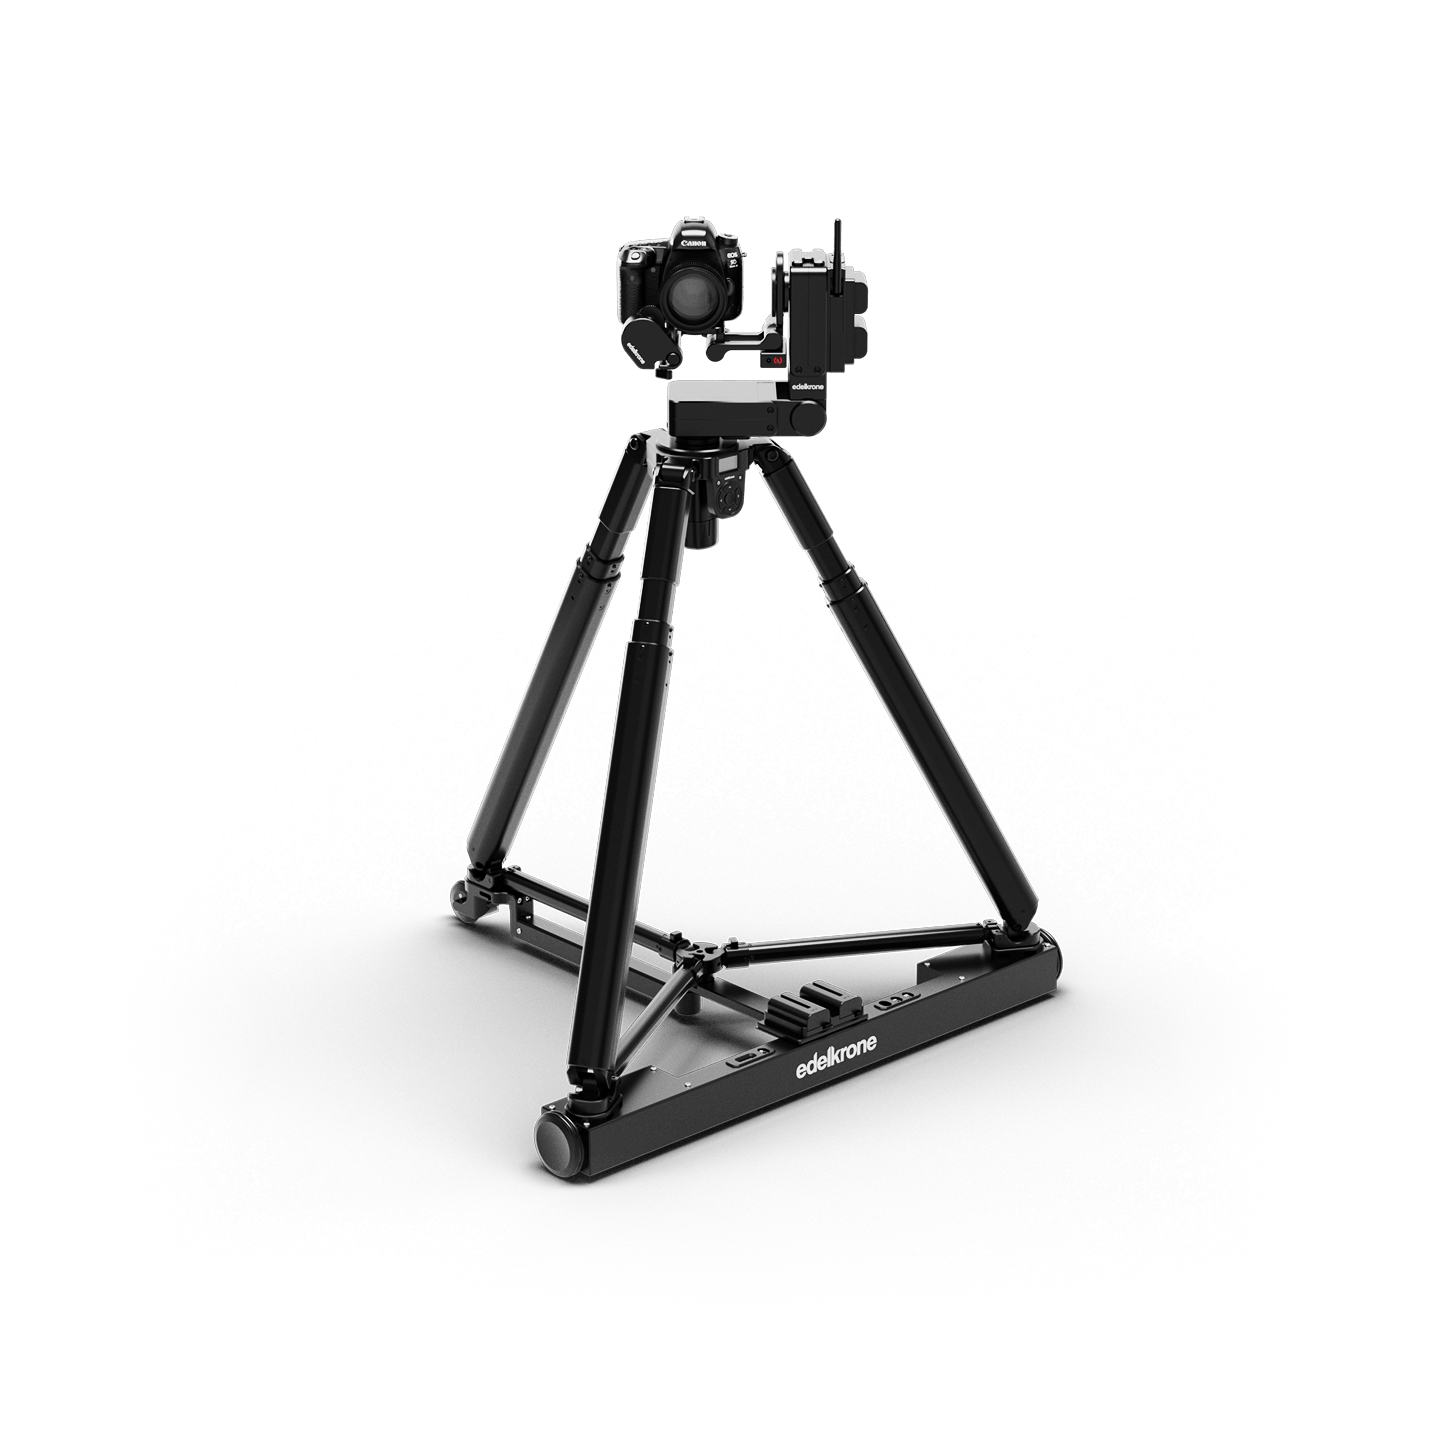
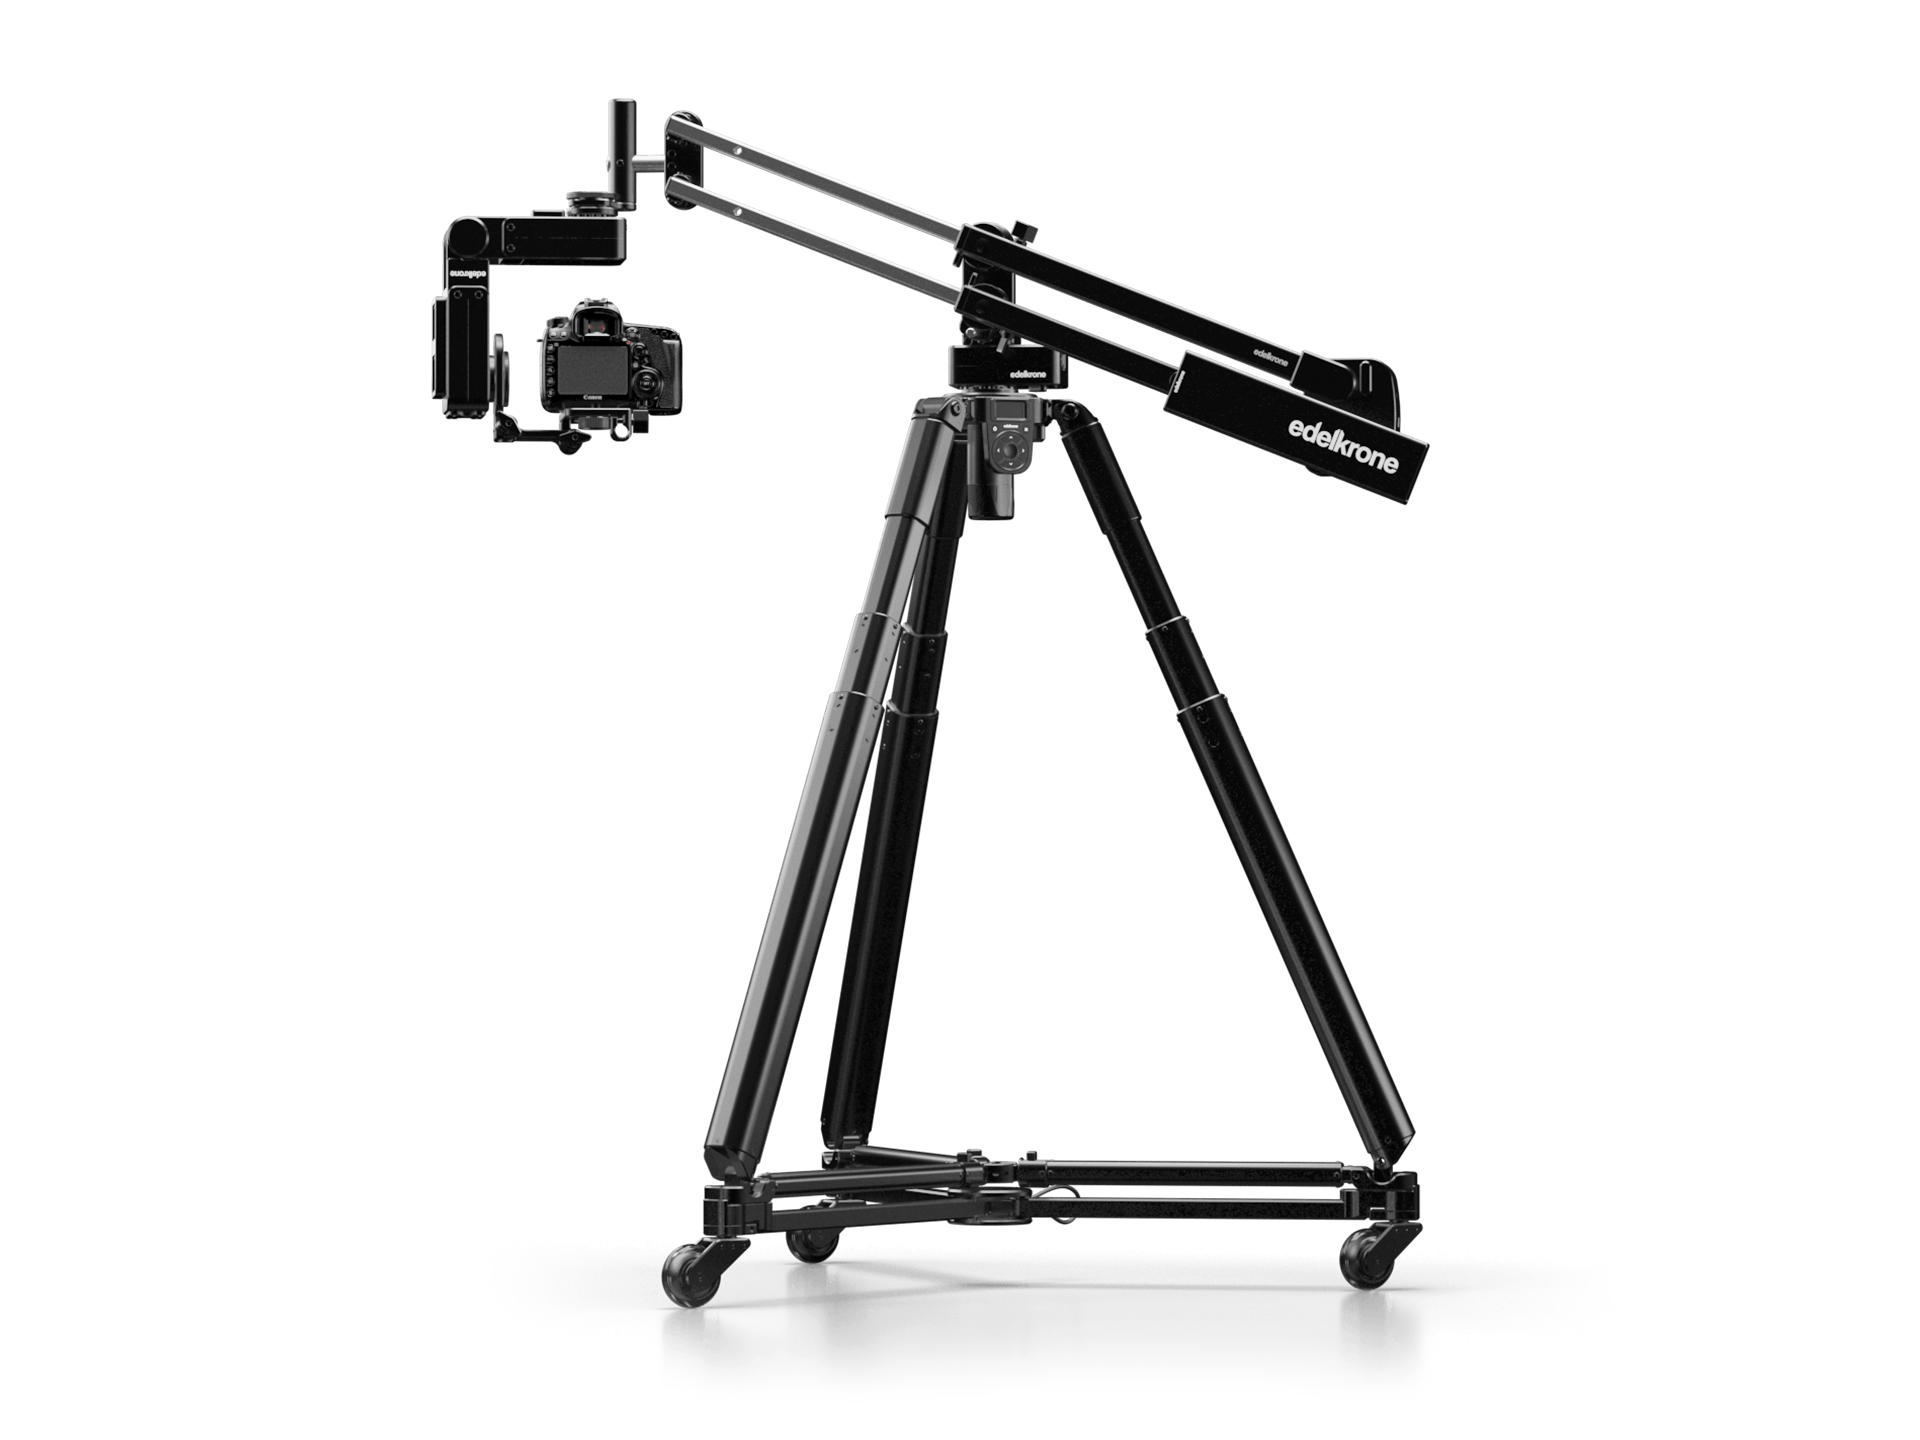
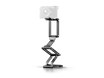
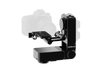
Most intuitive way
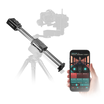
Hand-guided positioning
All edelkrone motion control devices are designed to act as COBOTS (Manually Teachable Camera Control System) and can be positioned manually by hand.
This feature is very valuable because it saves you great time while setting up your keyposes, positions and points. Instead of using the remote control joysticks (which you can use with no problems by the way) you can interact directly with your camera, push it, raise it, pan and tilt it and even focus or zoom it without any resistance and find the perfect frame you want freely.
▼
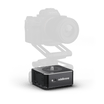
Powering Options
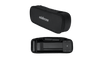
If you plan to shoot for long hours and grouping many devices, since the battery lives are not the same on all devices, batteries may end at different times. This may make it difficult to manage batteries for such long shots. With Power Module you can power all edelkrone PLUS devices and all their Modules from a single V-Mount or Gold Mount battery. Solving all the mystery and complexity on the power management problem.

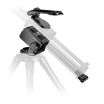
Multiple batteries or Power Module
Power Module can be strapped on a tripod leg and can power 4 devices at the same time. It is especially great for any setup you will be using on a tripod. This way synchronising the battery lives happens automatically.
Much longer battery life
You will go much longer without changing any batteries, and save on setup time. With the included on/off switch on the Power Module, you can turn off all devices by pressing a single button.
▼
Controlling Options
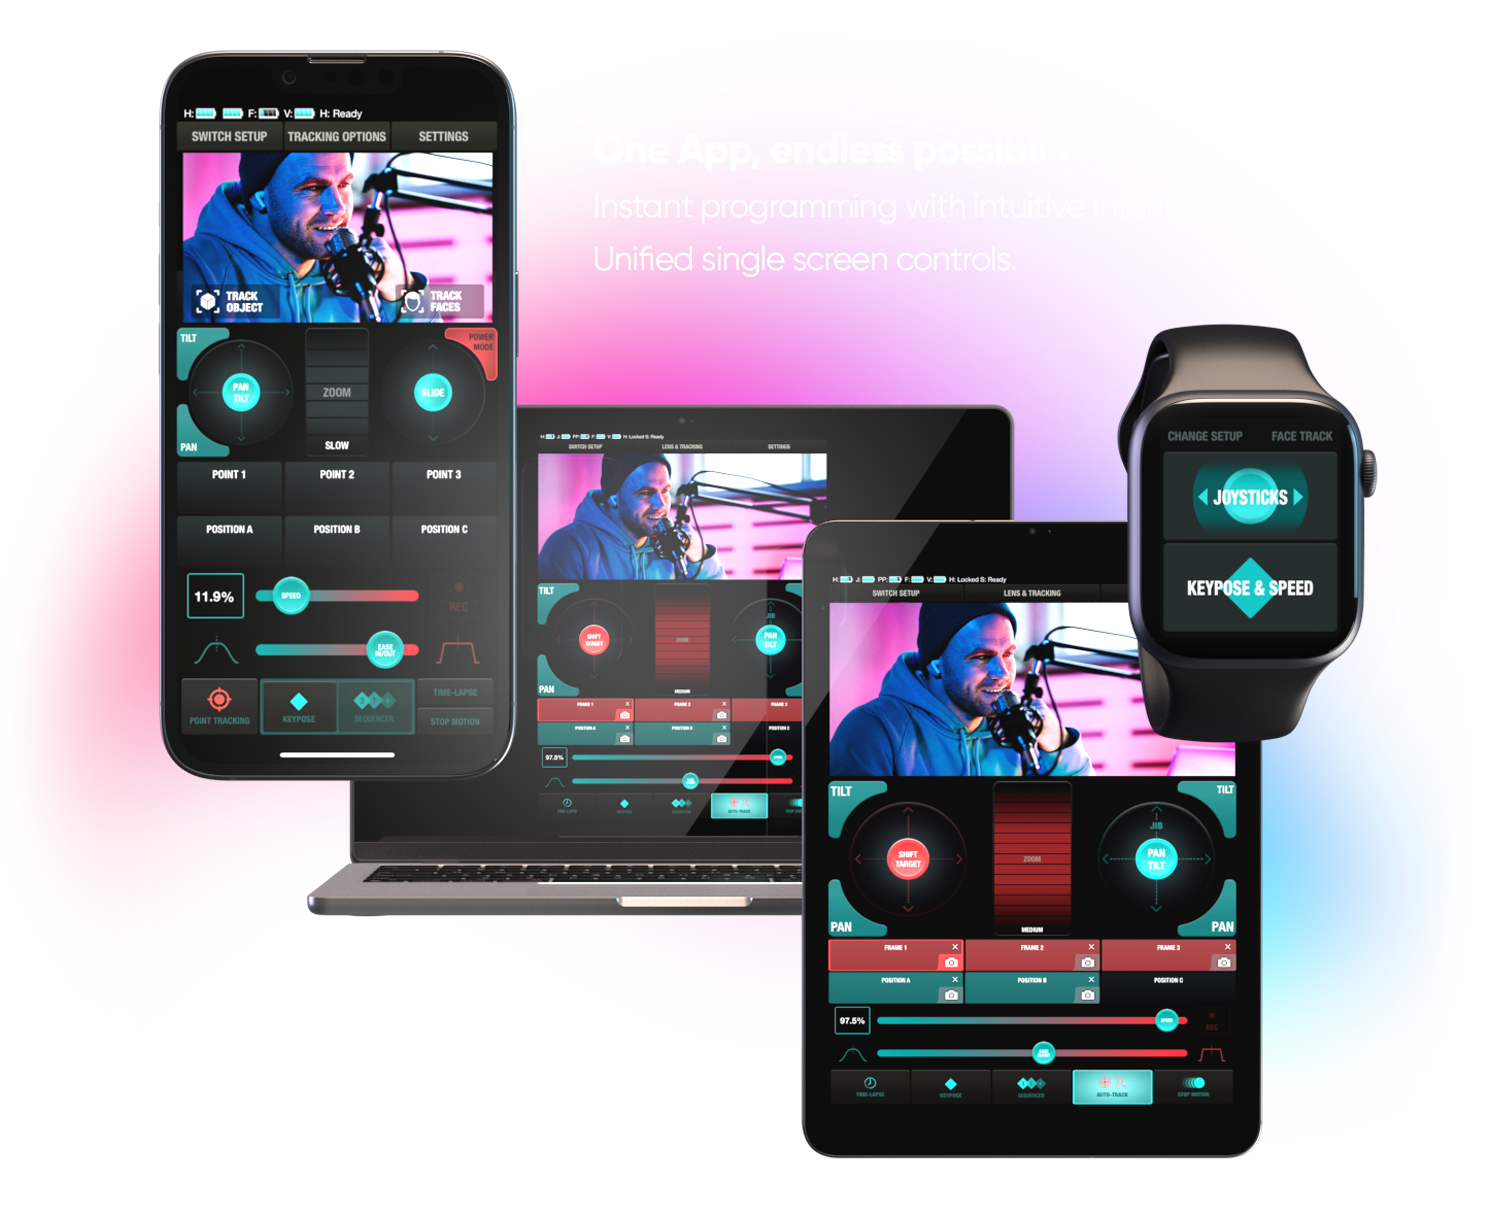
edelkrone App
The edelkrone App serves as a comprehensive and intuitive control platform, enabling seamless wireless control of all edelkrone devices from both Apple and Android* devices.
While the Android app delivers a smooth user experience, certain advanced features are currently optimized for iOS. Learn More.